Preparing the Top aruki panel
Today was another cold day, but the weather was calm and sunny. I worked in my workshop all day. I started by making the side panels for the 5-sun boxes. This time they will have a 14-steps mechanism, so there are three Aruki moving panels. I cut the panels to size and made the grooves for the Aruki panels to slide in on each of the three sections of the side panels. The bottom panel of the box is fixed. I haven’t started assembling them yet, but since this batch is 32 boxes, I think it won’t take too much time.
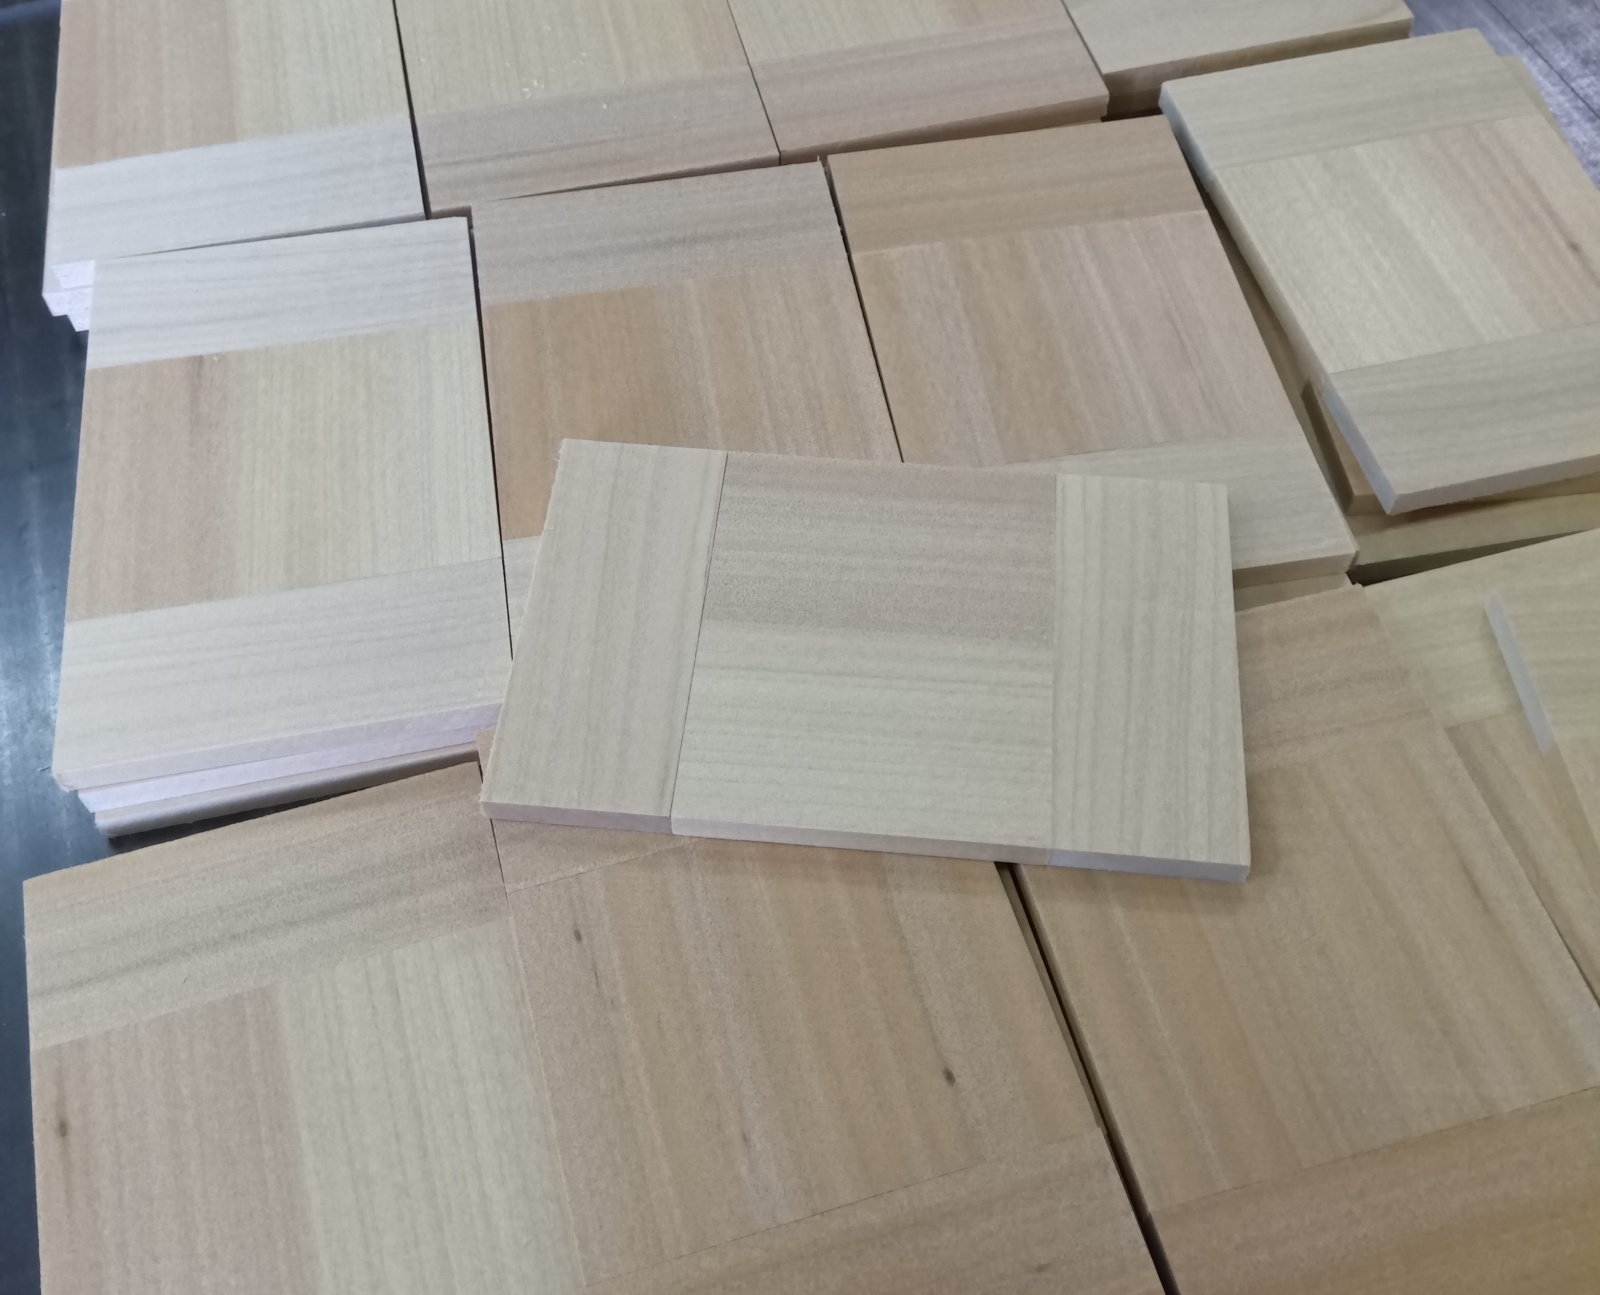
For the 5-sun boxes—and for any size—the frame must be completed before moving on to the next steps. However, when I make the frame panels, "For boxes that are 5-sun size or larger" I usually also prepare the Aruki panels for the top (and sometimes for the bottom). If I don’t do this now, I won’t be able to make the top Aruki panels together with the side Aruki panels in the next step. So this preparation has to be done at this stage, and I did it this time as well.
This preparation is called hashibami, a method where the Aruki panel is made from three separate pieces. It is a way to prevent the panel from warping. I always use this method for boxes that are 5-sun and larger. At this size, the top Aruki panel (the lid part) becomes fairly large—about 13 cm—so if it is made from a single piece of wood, it can warp easily. When the panel warps, the movement becomes stiff, so this method helps prevent that. I’m not sure when this technique first started, but the box I originally studied used this method. Today, I think almost all craftsmen use it as well (except for cheaper boxes made with MDF). There are many ways to make hashibami, depending on the craftsman. In my case, when I make the three parts, I cut the width (the Aruki width direction) to the final size first, and after assembling the three pieces, I do not cut the width again. Because of that, I must glue the three parts together very carefully so they do not shift even a little. Tools like clamps or rubber bands can cause the pieces to move because of the pressure, so I simply place the glued pieces on the table and leave them until the glue sets. As long as no strong force is applied, they will not come apart. Later in the process, the top panel—such as yosegi—will be glued on top of this hashibami Aruki panel, and that will fix everything securely. However, I leave the length of the hashibami panel slightly longer, and when I make the actual Aruki panel later, I cut it to the exact final size.
After that, I did the final check on the three types of finished puzzle boxes. I opened the mechanisms that had stuck a little from the paint and checked each movement one by one. Those are the newly finished square boxes, the 4-sun boxes, and the 6-sun boxes. I plan to list them very soon.