Finishing process-removing wood dust
This morning, I worked on the finishing process for the 3-sun cube box with 18 steps. The weather was cloudy—just right for this kind of work. When it’s too sunny and dry, I worry about the wood, so I was glad for the mild conditions. Since there are two different designs this time, I started with the natural wood type. All the surfaces of this box are made from natural wood, so I carefully polished each one with sandpaper. This process removes any glue marks or dust stuck to the surface. After that, I beveled all the edges. Because this one is made of natural wood, I chose a style where the corners are cut at about a 45-degree angle, around 5 millimeters deep. Depending on the type of wood, I sometimes round the corners like a typical puzzle box instead. From this point on, I need to handle the boxes with great care—if any scratches appear and the coating is applied over them, they’ll stay visible. Finally, I blew away all the sanding dust with air from a powerful compressor, completing the finishing process.
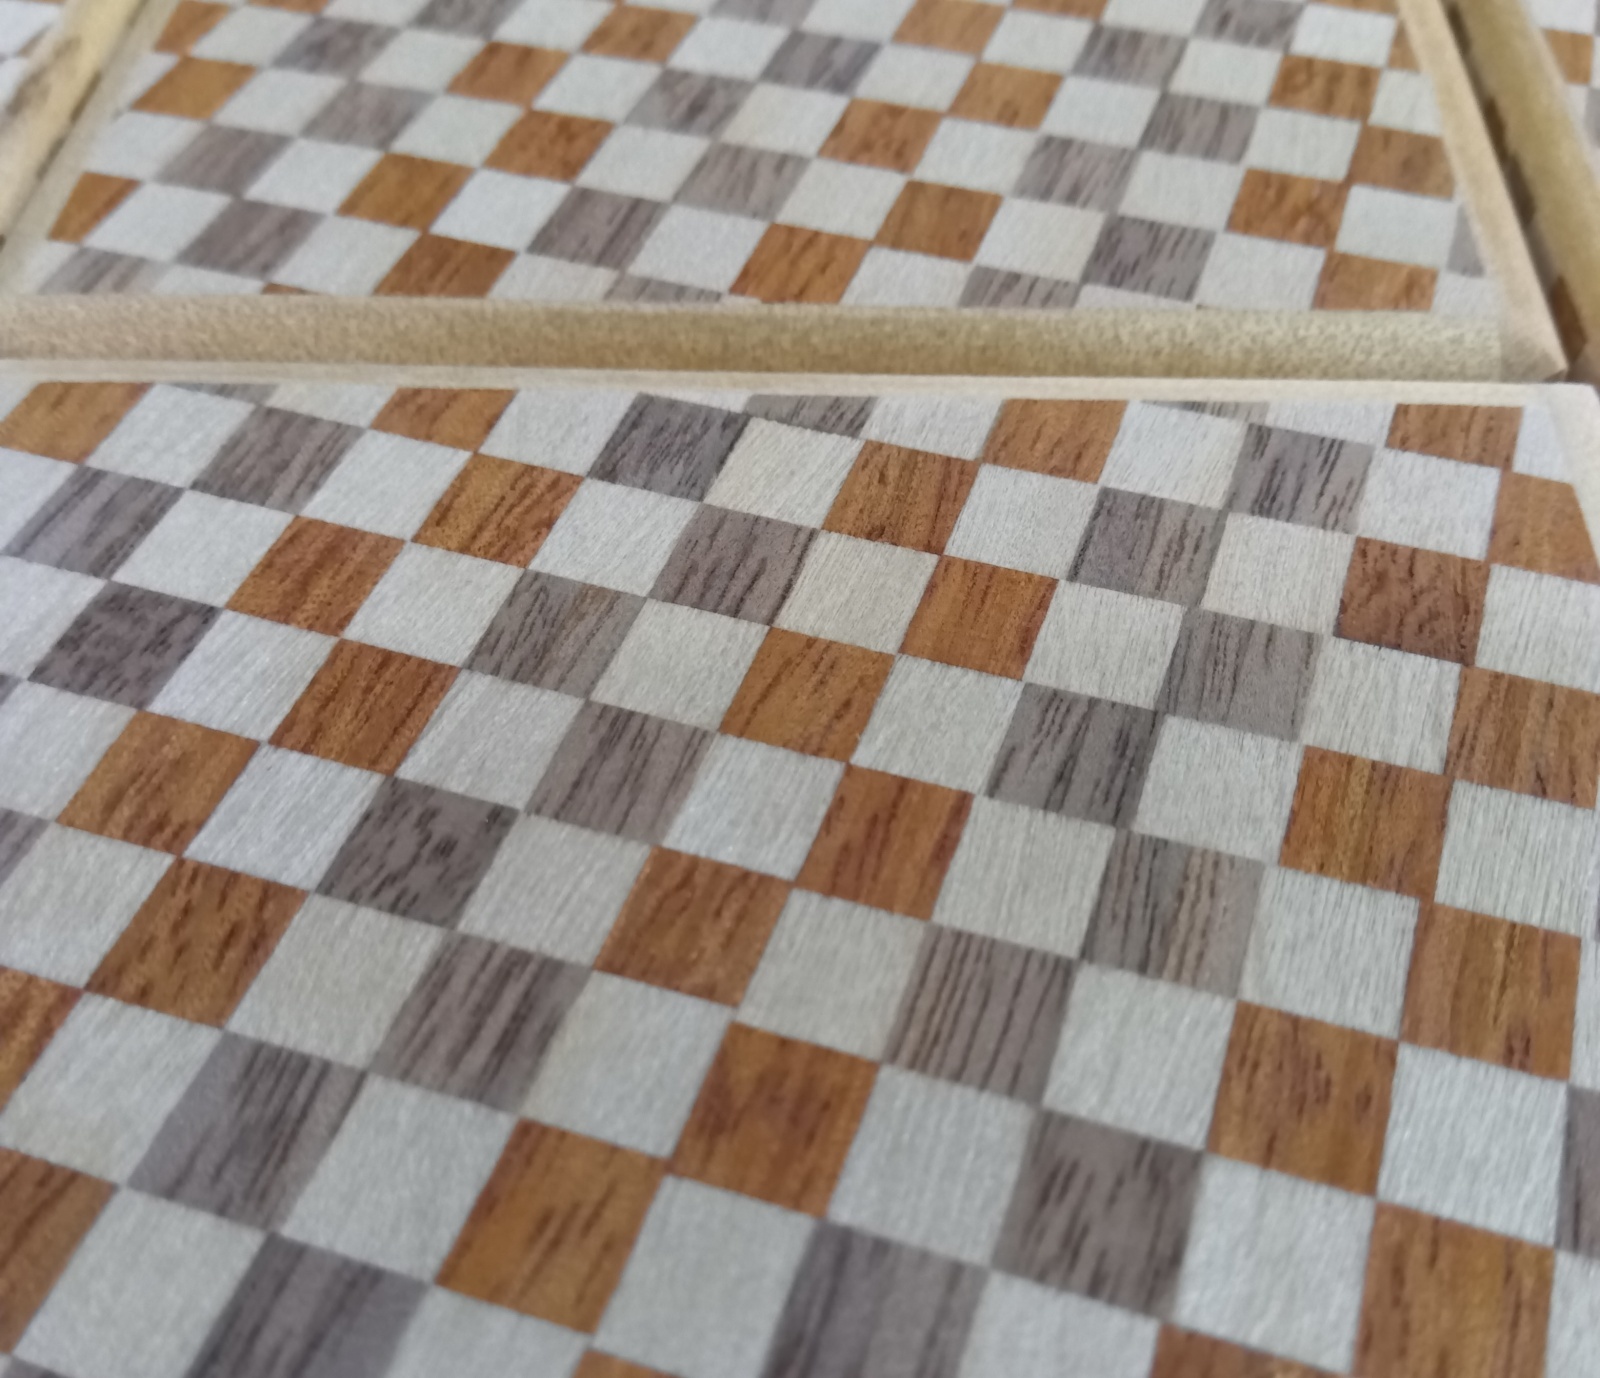
After that, I worked on finishing the checkered-pattern type. Like a standard Japanese puzzle box, the corners of this one are rounded. Then I polished the surface with sandpaper to make it smooth. Because of the fine checkered pattern, I carefully checked for any missing pieces and repaired them at this stage if needed. There’s one thing to be careful about with this kind of color combination—when light-colored wood is used together with dark or reddish wood, such as white and red, the red sanding dust can get into the grain of the white wood and stain it. Before painting, I have to carefully remove that dust using air compressor. This issue often happens with natural wood designs, but even with yosegi veneer patterns like this one, I need to pay close attention whenever white wood is included. Once the surface gets stained and is coated over, it’s almost impossible to remove the color. Even a simple task like removing dust and debris must be done carefully, because if not, it could ruin all the work done up to this point.
After finishing work on the 3-sun cube box, I moved on to assembling the hexagonal frame I made yesterday. As I mentioned before, this box is a bit different from the square ones, so the way the frame is assembled is also slightly different. Well, that’s only natural since the shape itself is different! 😅 First, the internal shaft panels that connect the top and bottom panels (which would be the side panels in a normal box) are two in number, just like in the square boxes. However, each of these two shafts is made by joining two separate curved pieces together, making a total of four panels that form the box’s shafts. If possible, please take a look at my Facebook post from today—you can see those shafts lined up in a row! 😲 The first step is to glue the four shaft panels into two curved shafts by joining them in pairs. This step is simply for shaping, so I don’t use clamps or rubber bands yet. After that, I apply glue to those shafts and attach the top and bottom hexagonal panels. Once they’ve dried a little, I use woodworking clamps to press everything together firmly. A strong force is needed at this stage. I let them dry slightly before clamping because if I apply pressure too soon, the pieces might slip out of place. Then I leave everything clamped overnight. With this, the hexagonal frame part is now complete.