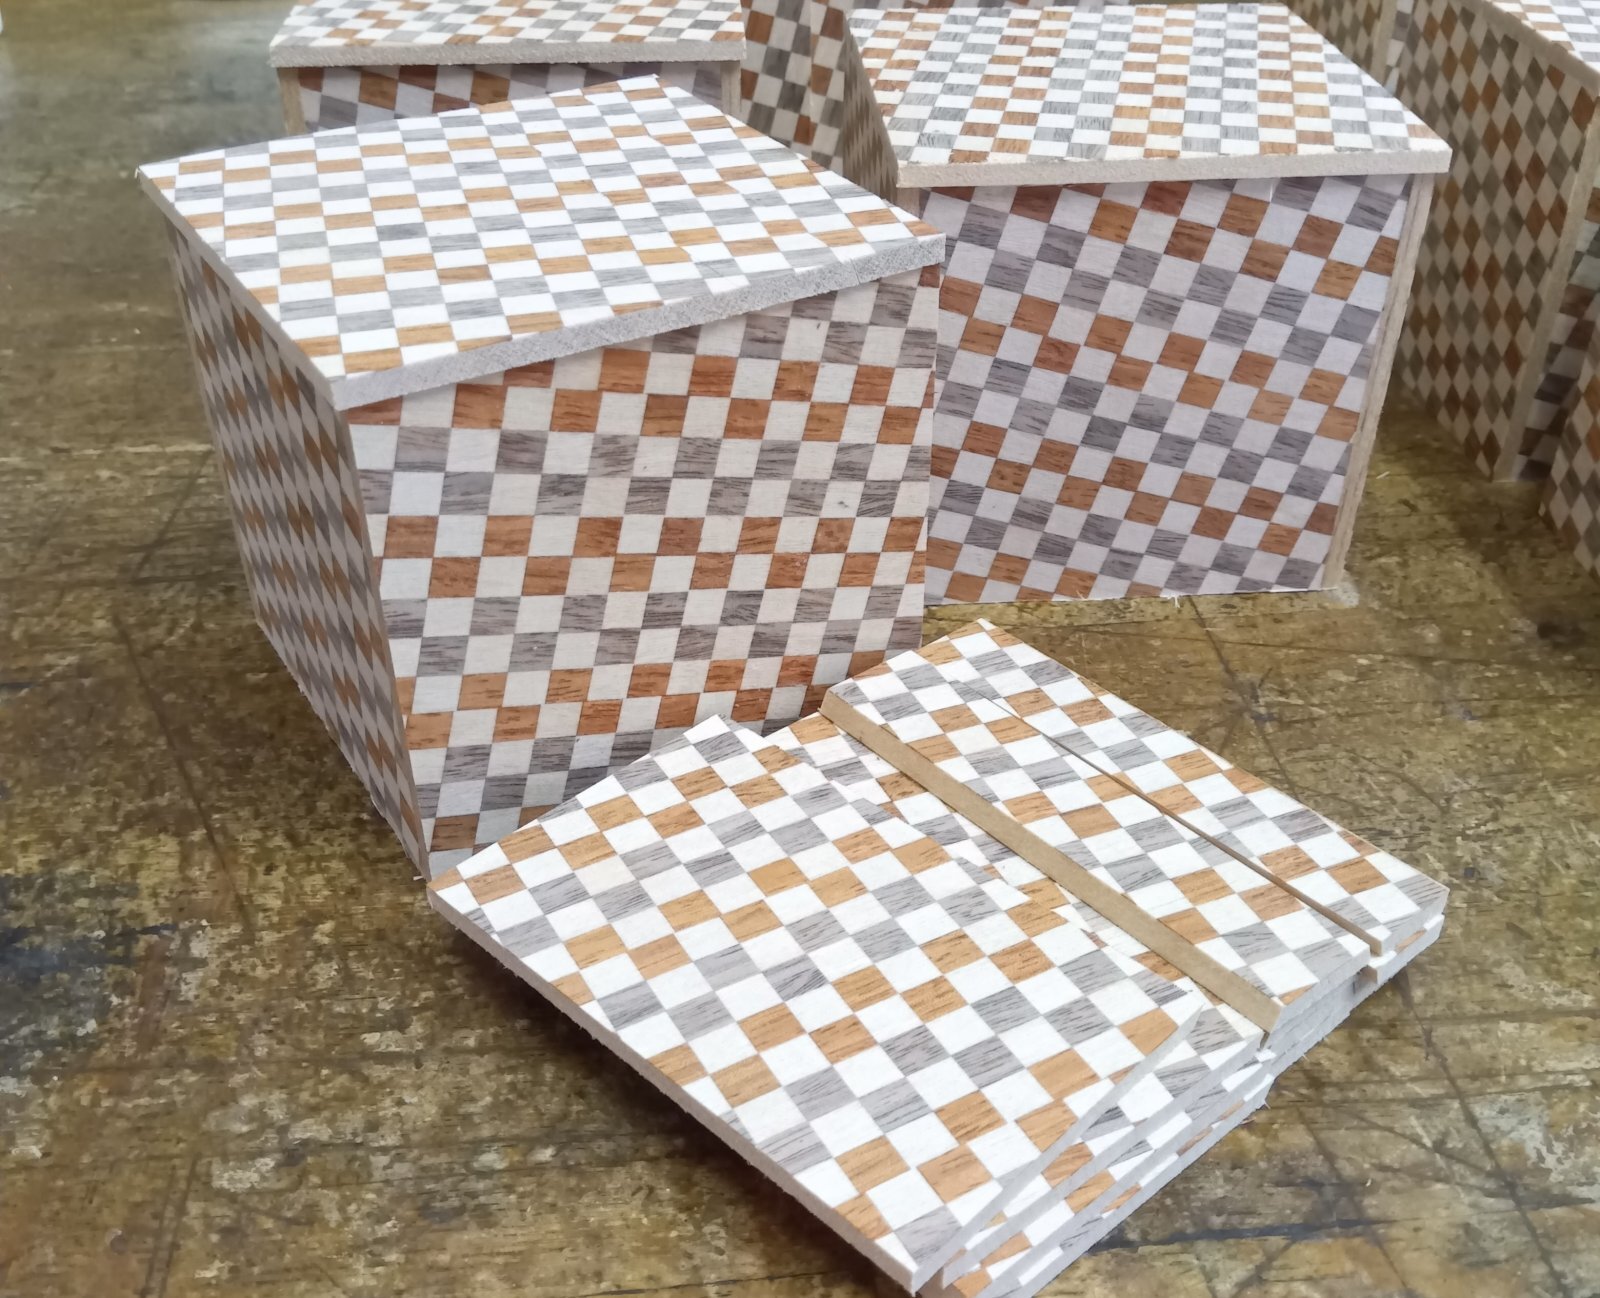
Attaching the Larger kannuki panels

Today’s weather was very good again, with low humidity—ideal conditions for attaching the sliding key (kannuki) panels. I started working on the 3-sun cube’s sliding key panels early this morning.
Before attaching them, there are several steps to complete: preparing the main box and making the sliding key panels. First, I attach small wooden pieces inside the box, then carefully level the surface where the panels will be glued. It’s difficult to make these uneven surfaces, with various parts and grooves, perfectly flat using only a saw or a hand plane. In the old days, before modern woodworking machines existed, this work was done entirely by hand with planes. When I first started making boxes, I also practiced flattening these surfaces using only a hand plane. However, the blade must be extremely sharp, and the process takes a lot of time. For making dozens of boxes as I do now, it’s not very efficient.
Nowadays, I use a woodworking machine with sandpaper to smooth the surface. Still, the fine adjustment is done by hand, and that part requires both skill and experience.
Next, I make the sliding key panels. A single board is divided into three pieces by cutting it with angled lines. The dimensions of these panels vary depending on the box, but this time, they are almost the same size as those used for the 5-sun boxes.
In the afternoon, I began attaching the panels. Since the humidity was very low today—around 40%—I started with the side that has a smaller gluing surface. As with all puzzle boxes, the side with less contact area is more likely to warp later. The difference between the two sides is only about 4 or 5 millimeters, but even that small gap can make a big difference, especially in boxes that don’t have much height. In this case, since it’s a cube-shaped box with a taller structure, it’s less of an issue.
The large contact area this time allowed me to attach the panels stably, but having too much surface area brings another challenge—the wide panels sometimes don’t adhere evenly. Even though I secure them with rubber bands after applying the glue, if the sliding key panels have a strong natural curve, they might not bond firmly to the Aruki base panel, and small uneven gaps can appear between the three divided sections. Rubber bands don’t have a very strong clamping force, so they can lose against the wood’s tension.
Using a stronger tool like a woodworking clamp would flatten them completely, but that could damage the Aruki panel, which isn’t fixed in place and is only attached with moderate tightness. That’s why it’s important to carefully check the curvature and thickness of the sliding key panels before gluing, to prevent these issues from happening.
The weather is expected to turn bad starting tomorrow, so I plan to attach the other side in the morning before it changes 🌧️