Aruki of 36-steps
Today felt like a midsummer day—it was very hot. While the humidity wasn't especially low, it was still better than a rainy day, so I started by working on the Aruki panel (moving panels) for the 36-steps mechanism.
The materials I use for my 36-steps Aruki are the same thickness and size as those for the 27-steps version. I simply add one more cut to increase the number of internal steps, which brings the total up by additional nine moves.
I’m thinking of using a new method for measuring the Aruki panel dimensions, which I’ve been trying out recently, on this 5-sun box as well. Because of the thickness and size of the panel, the contact area is larger, and if the fit isn’t just right, the mechanism can become too tight. But from my experience making another box of a different size, I’ve learned that intentionally making it slightly loose is the key to success. So I think this one will go well too.
Since it's been a while since I made a 36-steps box, I’m struggling a bit to recall all the little "tricks" for building it 😅. I do take notes each time I find something important to remember, though.
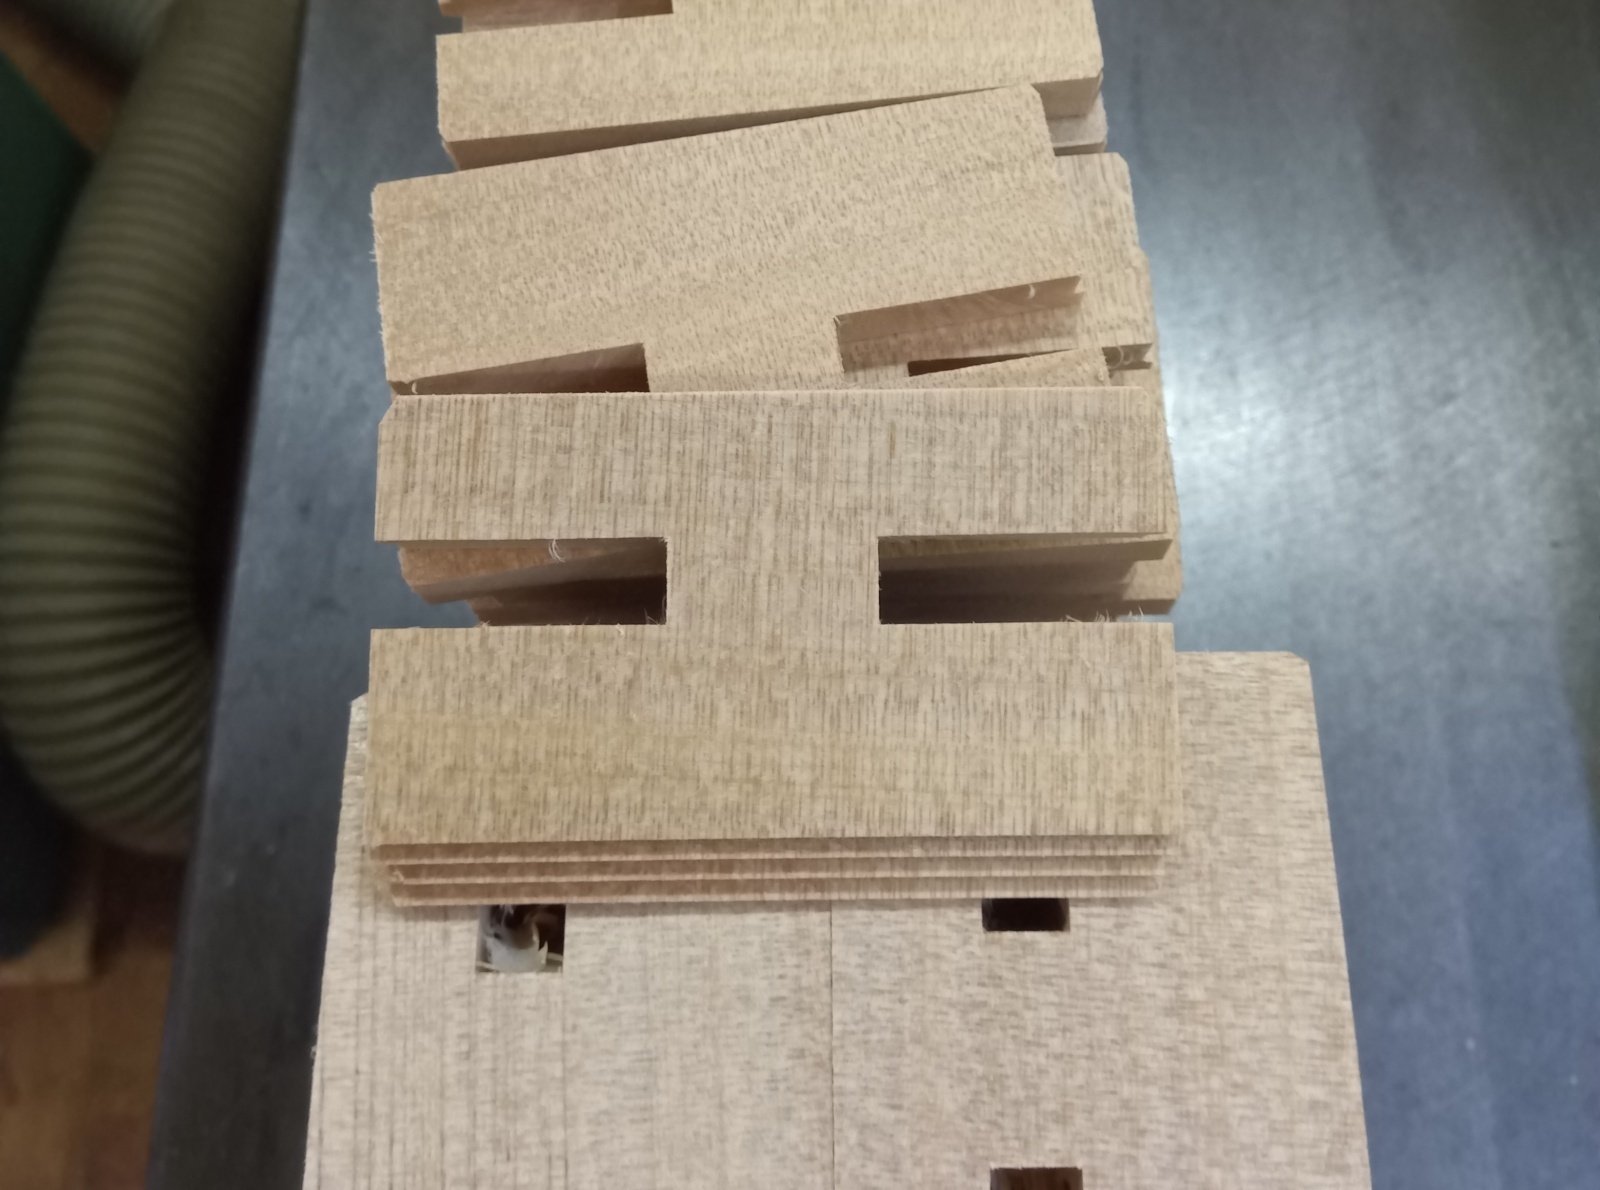
Also, as you can see in the photo, the notch for the Kannuki (slide keys) is usually hidden behind an outer panel in most puzzle boxes. But in this box, the notch becomes visible when the Kannuki moves. So this part also needs to be finished cleanly. That’s because the Kannuki splits in the middle and slides to the left and right, which reveals the center area of the Aruki panel.
After that, I made a bit more progress on the 4-sun 14-steps box. Right now, the box is being held in a woodworking vise to let the side panels I attached yesterday set firmly.
The next step will be attaching the Kannuki panels (slide key panels), but since I didn’t have much time today, I focused on making the Kannuki panels instead.
Depending on how the other work progresses, I’m also planning to start working on parts like installing the Bocchi and processing the main body of the box.
The materials I use for my 36-steps Aruki are the same thickness and size as those for the 27-steps version. I simply add one more cut to increase the number of internal steps, which brings the total up by additional nine moves.
I’m thinking of using a new method for measuring the Aruki panel dimensions, which I’ve been trying out recently, on this 5-sun box as well. Because of the thickness and size of the panel, the contact area is larger, and if the fit isn’t just right, the mechanism can become too tight. But from my experience making another box of a different size, I’ve learned that intentionally making it slightly loose is the key to success. So I think this one will go well too.
Since it's been a while since I made a 36-steps box, I’m struggling a bit to recall all the little "tricks" for building it 😅. I do take notes each time I find something important to remember, though.
Also, as you can see in the photo, the notch for the Kannuki (slide keys) is usually hidden behind an outer panel in most puzzle boxes. But in this box, the notch becomes visible when the Kannuki moves. So this part also needs to be finished cleanly. That’s because the Kannuki splits in the middle and slides to the left and right, which reveals the center area of the Aruki panel.
After that, I made a bit more progress on the 4-sun 14-steps box. Right now, the box is being held in a woodworking vise to let the side panels I attached yesterday set firmly.
The next step will be attaching the Kannuki panels (slide key panels), but since I didn’t have much time today, I focused on making the Kannuki panels instead.
Depending on how the other work progresses, I’m also planning to start working on parts like installing the Bocchi and processing the main body of the box.