Attaching the Panels for Proper Alignment
Today was another rainy day. I went out for a while this afternoon, so I had a lighter workday. While I was out, I also picked up some plywood and other materials for the 5-sun puzzle boxes. I am always a little worried about bringing panels like these back to the workshop on a rainy day, but these were not MDF, so they were fine. MDF is extremely weak against water. Even a single drop of rain can make that spot absorb moisture and swell, so I cannot carry MDF outside on a rainy day.
Since the high humidity has continued, I need to choose my work carefully. Today, I worked mainly on making the top panels for the Square puzzle boxes. The random wood grain top panels use three different kinds of wood. In the end, I decided to arrange them in straight lines running along the sides of the box. For my 4-sun boxes, I usually combine three woods at a slight angle. However, since these are Square puzzle boxes, I chose a more straight and angular pattern. It may look a little similar to the limited solid wood version of The Knock Box that I made before. Patterns made with straight vertical lines and right angles require extra care during production. If the pieces shift or become slightly crooked while being attached, it is very easy to notice. Since everything is attached by hand, it is difficult to make every line perfectly straight. Even so, I am taking my time and working as carefully as possible. and So far, everything is going well. However, one of the three woods is a type that I do not normally use, so I will not know the final result until the panels are completely finished. I was also concerned about glue soaking into the wood when I attached the pieces. Now, I am a little worried about whether the final finish will apply evenly.
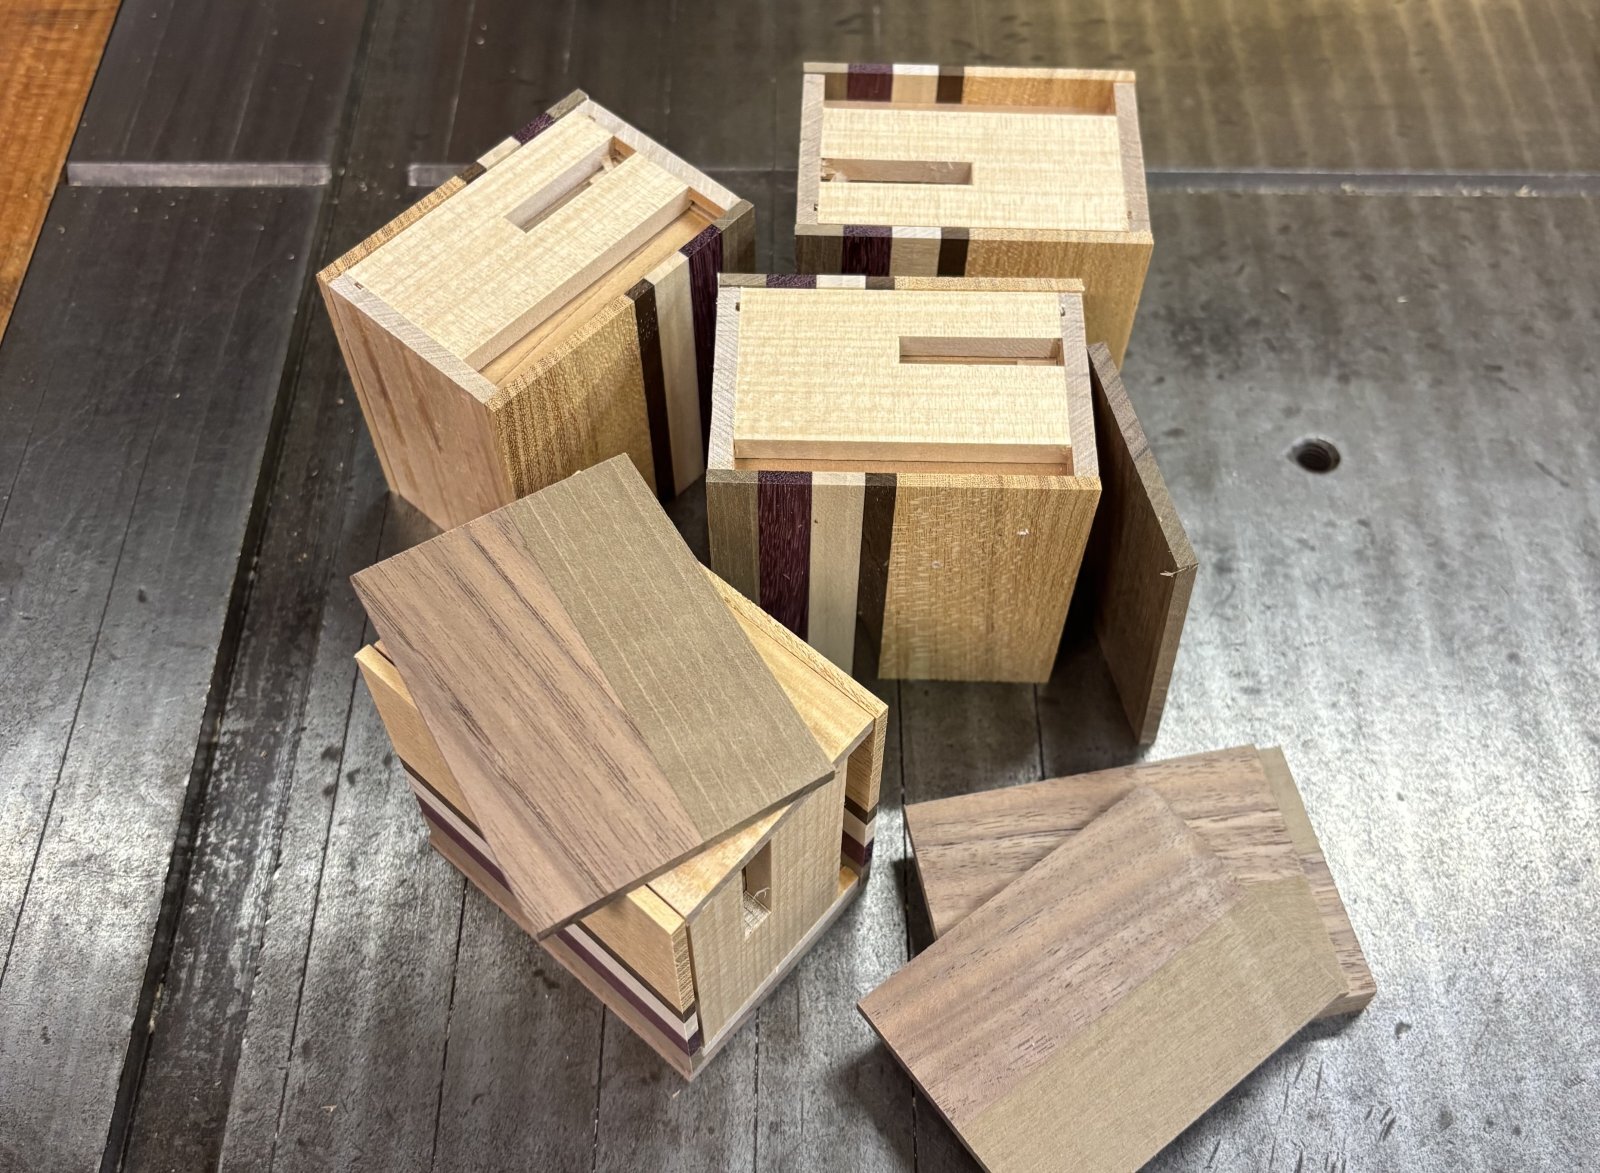
As shown in the photo, I am also making only four custom natural wood versions this time. These boxes have two-color side panels, a design that I have made several times before. I am making only the four that were ordered last year. Unlike my usual two-color design, where the upper wood is used only at the top of the side panel, this design continues across the sliding key. I often used this style on 5-sun puzzle boxes in the past, but I rarely make it now. With this design, I need to carefully align the wood on the sliding key panel with the wood on the fixed side panel. If I cut the two sections to exactly the same width at the beginning, the Walnut section on the sliding key panel becomes narrower after the sliding key is cut. To avoid this, I calculate how much narrower it will become and make the Walnut section on the fixed side panel narrower in advance. This design is a little difficult to make with my current production method. For these four boxes, I am using my older method of attaching each side panel separately. It takes more time and work, but since there are only four boxes, I chose this method to achieve a more accurate result. Today, I attached only the side panels for these four boxes and secured them in a vise.
Since the high humidity has continued, I need to choose my work carefully. Today, I worked mainly on making the top panels for the Square puzzle boxes. The random wood grain top panels use three different kinds of wood. In the end, I decided to arrange them in straight lines running along the sides of the box. For my 4-sun boxes, I usually combine three woods at a slight angle. However, since these are Square puzzle boxes, I chose a more straight and angular pattern. It may look a little similar to the limited solid wood version of The Knock Box that I made before. Patterns made with straight vertical lines and right angles require extra care during production. If the pieces shift or become slightly crooked while being attached, it is very easy to notice. Since everything is attached by hand, it is difficult to make every line perfectly straight. Even so, I am taking my time and working as carefully as possible. and So far, everything is going well. However, one of the three woods is a type that I do not normally use, so I will not know the final result until the panels are completely finished. I was also concerned about glue soaking into the wood when I attached the pieces. Now, I am a little worried about whether the final finish will apply evenly.
As shown in the photo, I am also making only four custom natural wood versions this time. These boxes have two-color side panels, a design that I have made several times before. I am making only the four that were ordered last year. Unlike my usual two-color design, where the upper wood is used only at the top of the side panel, this design continues across the sliding key. I often used this style on 5-sun puzzle boxes in the past, but I rarely make it now. With this design, I need to carefully align the wood on the sliding key panel with the wood on the fixed side panel. If I cut the two sections to exactly the same width at the beginning, the Walnut section on the sliding key panel becomes narrower after the sliding key is cut. To avoid this, I calculate how much narrower it will become and make the Walnut section on the fixed side panel narrower in advance. This design is a little difficult to make with my current production method. For these four boxes, I am using my older method of attaching each side panel separately. It takes more time and work, but since there are only four boxes, I chose this method to achieve a more accurate result. Today, I attached only the side panels for these four boxes and secured them in a vise.