Aruki Groove Dimensions
Unlike the cool weather we had until yesterday, the sun came out again today and it felt as hot as midsummer. But it seems that today will be the last of this weather, and we are expecting rainy days from tomorrow. Perhaps it is a sign of autumn now that September has arrived, but even in the heat, I have started to see dragonflies. Red dragonflies are one of the things that make Japanese people feel that autumn is coming.
Today, I finally started preparing the puzzle boxes that I plan to make in September. First, I prepared the side panels for the 3-sun and 5-sun puzzle boxes. I attach the outer and inner panels together and hold them tightly in a vise. The inner panel is part of the structural frame of the box, so at this stage, its width is already cut to the exact size needed for the height of the box. After the inner and outer panels have been glued together, I cut the outer panel to match the inner panel and bring everything to the correct size. So at this stage, the outer panel is still slightly larger than needed. The reason I do this is that the panels can move slightly because of the pressure when they are glued together. A vise applies a lot of pressure, so it is almost impossible to attach them without any movement at all, especially when working with accuracy down to 0.1 mm. So after the panels are glued together, I cut them again to the exact size. It may seem like extra work, but it is a necessary step for making an accurate puzzle box.
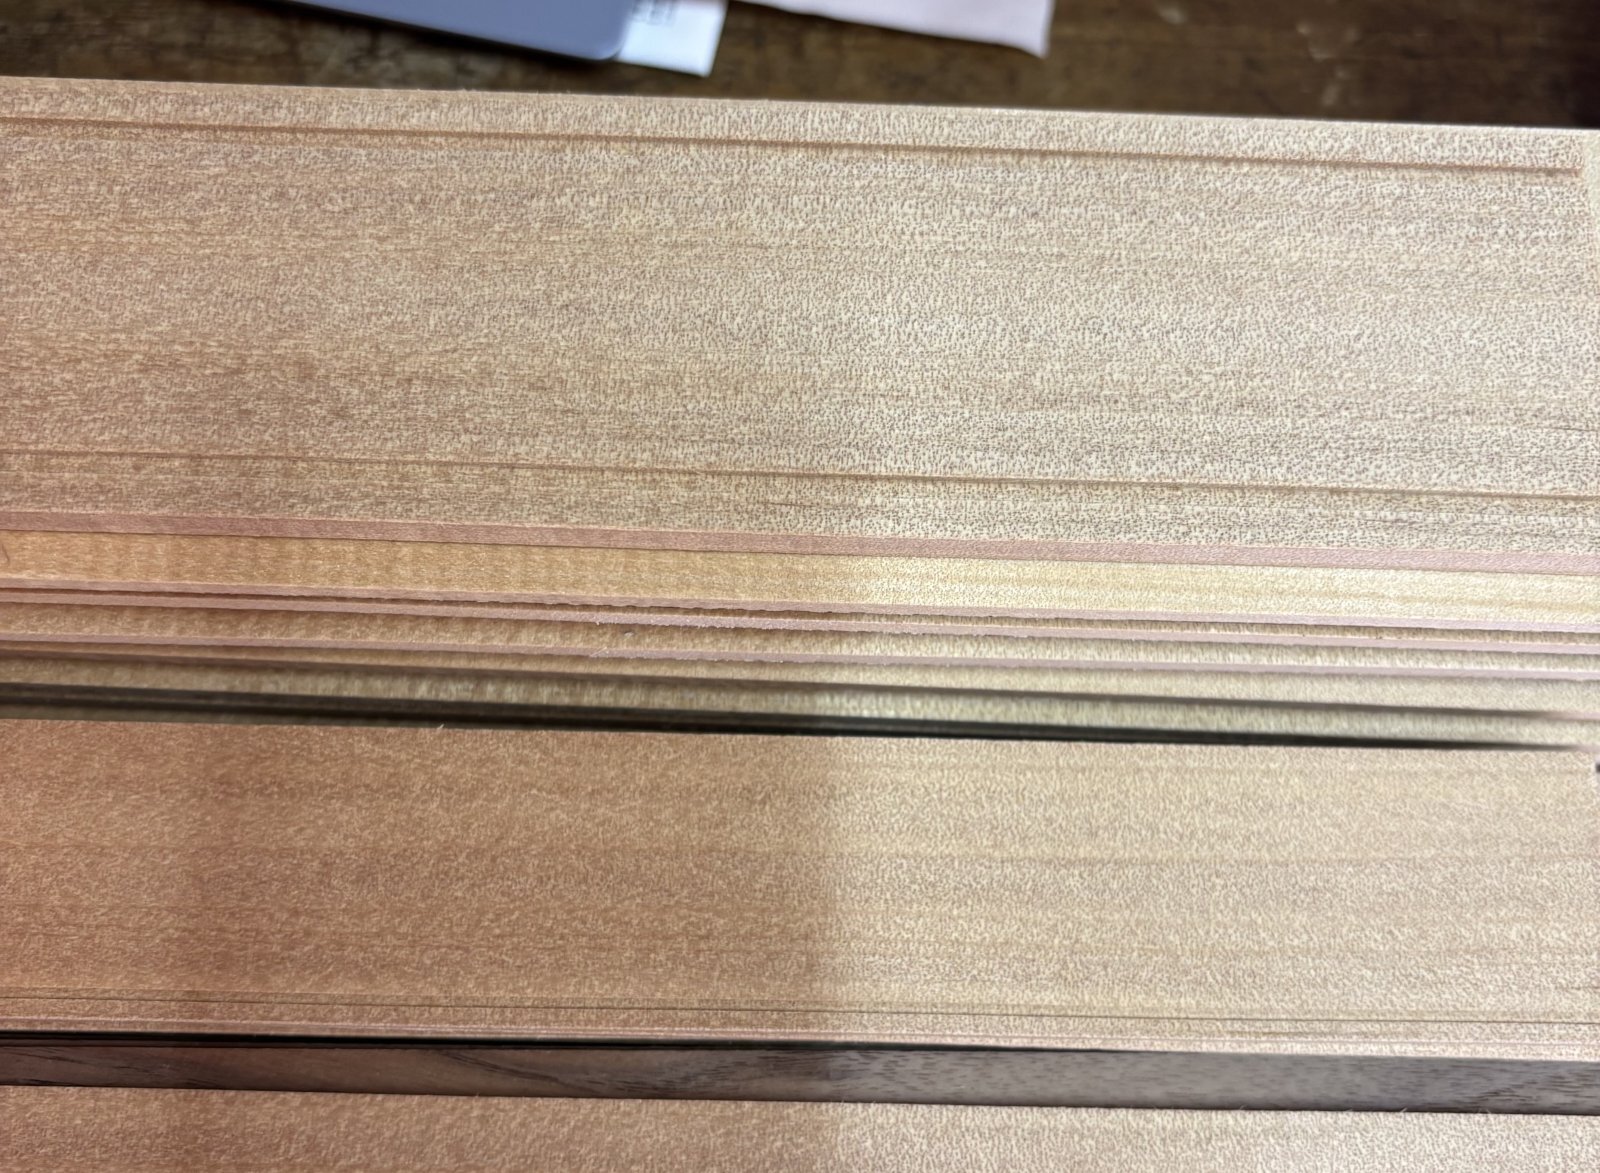
The photo may be a little difficult to understand, but these boards will become the side panels for the 3-sun and 5-sun puzzle boxes. I attach the panels while the boards are still long like this. From each board, I can cut four long side panels for the 3-sun boxes or two long side panels for the 5-sun boxes. You may be able to see the grooves cut into these panels. The 3-sun panels have a groove on one side, while the 5-sun panels have grooves on both sides. The 3-sun box has a 12-step mechanism, so this groove is for the top Aruki sliding panel. The 5-sun box has a 36-step mechanism, so it has grooves for both the top and bottom Aruki. As I mentioned above, the inner panels of these boxes have already been cut to their final width, so I can cut these grooves at this stage. The width of the grooves depends on the mechanism. In this case, the groove for the 3-sun box is a little less than 2 mm wide, while the groove for the 5-sun box is about 3 mm wide. Actually, I would prefer to make them slightly wider, but I have been using these sizes for many years, so for now I continue to make them this way. By slightly wider, I mean only about 0.2–0.5 mm. Making the groove a little wider can make the movement of the Aruki slightly more stable. However, making it too wide can cause another problem. Later, I will cut grooves for the side Aruki, and the areas where these grooves cross can become weaker. Finding the right balance is difficult. The Aruki for the 3-sun box is about 4.5–5 mm thick, so I use this groove width. The Aruki for the 5-sun 36-step box is 8.5 mm thick, so the groove is wider, at about 3 mm. The size of the groove where the foot of the Aruki fits needs to change depending on the size of the Aruki.
Today, I finally started preparing the puzzle boxes that I plan to make in September. First, I prepared the side panels for the 3-sun and 5-sun puzzle boxes. I attach the outer and inner panels together and hold them tightly in a vise. The inner panel is part of the structural frame of the box, so at this stage, its width is already cut to the exact size needed for the height of the box. After the inner and outer panels have been glued together, I cut the outer panel to match the inner panel and bring everything to the correct size. So at this stage, the outer panel is still slightly larger than needed. The reason I do this is that the panels can move slightly because of the pressure when they are glued together. A vise applies a lot of pressure, so it is almost impossible to attach them without any movement at all, especially when working with accuracy down to 0.1 mm. So after the panels are glued together, I cut them again to the exact size. It may seem like extra work, but it is a necessary step for making an accurate puzzle box.
The photo may be a little difficult to understand, but these boards will become the side panels for the 3-sun and 5-sun puzzle boxes. I attach the panels while the boards are still long like this. From each board, I can cut four long side panels for the 3-sun boxes or two long side panels for the 5-sun boxes. You may be able to see the grooves cut into these panels. The 3-sun panels have a groove on one side, while the 5-sun panels have grooves on both sides. The 3-sun box has a 12-step mechanism, so this groove is for the top Aruki sliding panel. The 5-sun box has a 36-step mechanism, so it has grooves for both the top and bottom Aruki. As I mentioned above, the inner panels of these boxes have already been cut to their final width, so I can cut these grooves at this stage. The width of the grooves depends on the mechanism. In this case, the groove for the 3-sun box is a little less than 2 mm wide, while the groove for the 5-sun box is about 3 mm wide. Actually, I would prefer to make them slightly wider, but I have been using these sizes for many years, so for now I continue to make them this way. By slightly wider, I mean only about 0.2–0.5 mm. Making the groove a little wider can make the movement of the Aruki slightly more stable. However, making it too wide can cause another problem. Later, I will cut grooves for the side Aruki, and the areas where these grooves cross can become weaker. Finding the right balance is difficult. The Aruki for the 3-sun box is about 4.5–5 mm thick, so I use this groove width. The Aruki for the 5-sun 36-step box is 8.5 mm thick, so the groove is wider, at about 3 mm. The size of the groove where the foot of the Aruki fits needs to change depending on the size of the Aruki.