Trial and Error in Attaching the Parts
Has the rainy season ended? Today was a very hot day. The sky was clear, and it felt completely like summer. Actually, it looks like it will be rainy again from the weekend, so the rainy season seems to continue a little longer. Today, I spent the whole day assembling the 3-sun boxes. Usually, I do not spend a full day on this kind of work, but this time there are many boxes, so I spent the entire day just assembling them and attaching the parts.
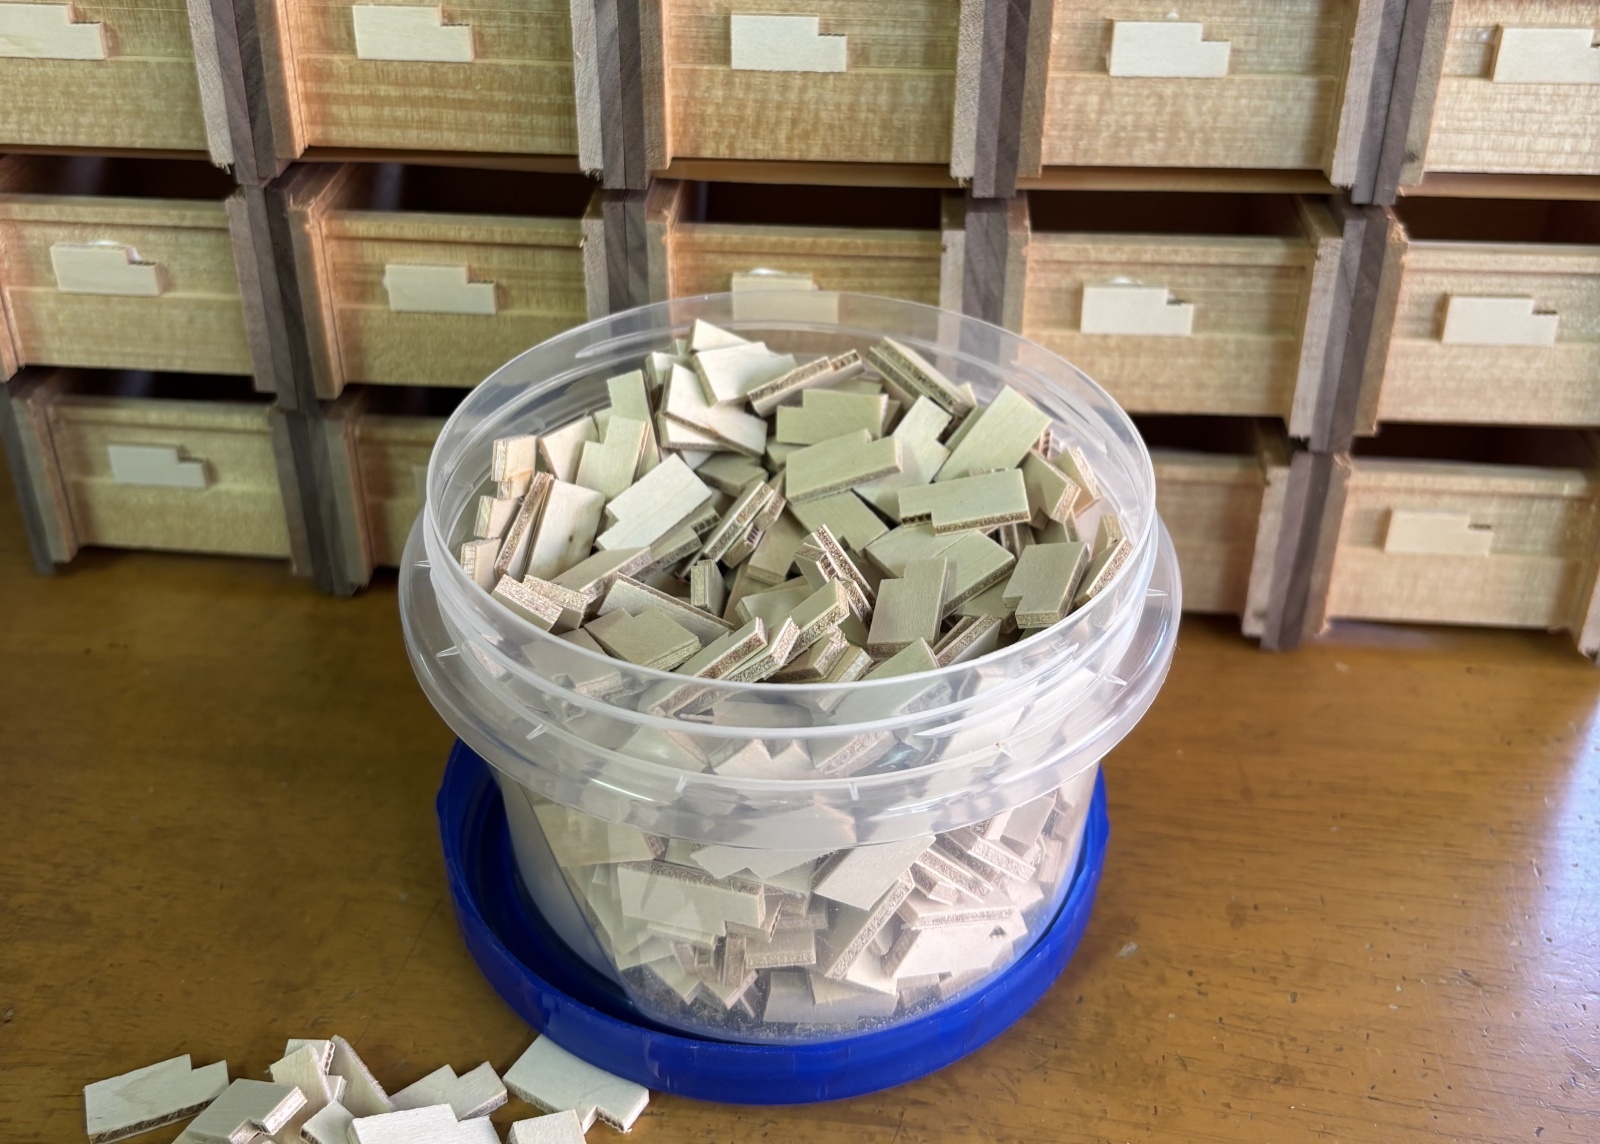
The photo shows me attaching the many parts I prepared. I attach them one by one to the inside of the axis panels. This 12-step mechanism is made up of three different types of parts, and five parts are attached to each box. Of course, each one must be attached in a precisely fixed position. For that reason, I use something like a ruler to adjust the dimensions. The part shown in the photo is the largest of these parts, and it is an important part of the mechanism. A small wooden piece comes to the right side of this part, and by moving little by little, it counts the steps. So for the 12-step mechanism, only the dimension on the right side of this part is important. I attach this white part while measuring how many millimeters it should be from the end of the axis. At the moment, I use a small wooden piece like a ruler, measured for this purpose, to attach it. When I place that ruler from the right side and attach the part, this part comes to just the right position.
You can probably see that there is a gap on the left side of the part. In the past, I attached the part tightly against the left side, measured the empty space accurately, and made the part to that size to decide the distance from the right side. However, even if I made the parts exactly the same size, while there was no difference between the parts themselves, there were small differences in the glued areas of the axis panels. Because of this, the dimension on the right side did not become the same. It could shift slightly. By slightly, I mean about 0.2 mm, or sometimes as much as 0.3 mm. So now, I do not set the width of this part very strictly. Instead, I place a ruler from the right side and attach the part based on that distance. The reason this shift happens is that when I apply glue to the axis and assemble the frame, some glue squeezes out. When that glue hardens, the part can no longer sit tightly against the left side. It is possible to wipe away the extra glue, but that takes time. Also, as I have written before, the glue that squeezes out helps increase the bonding strength between the axis and the long side panel, so I would like to leave it as it is as much as possible. There are still several ways to do this, and there may not be one single best method. If I am making only a small number of boxes, I sometimes attach the parts in a different way. Also, even when using a ruler, the parts are still attached by hand, so small differences will still appear. For that reason, I leave a little extra space inside the mechanism. The small wooden pieces inside are also not cut to the exact size, but are made about 0.5 mm to 1 mm smaller, so they can handle these small individual differences.
The photo shows me attaching the many parts I prepared. I attach them one by one to the inside of the axis panels. This 12-step mechanism is made up of three different types of parts, and five parts are attached to each box. Of course, each one must be attached in a precisely fixed position. For that reason, I use something like a ruler to adjust the dimensions. The part shown in the photo is the largest of these parts, and it is an important part of the mechanism. A small wooden piece comes to the right side of this part, and by moving little by little, it counts the steps. So for the 12-step mechanism, only the dimension on the right side of this part is important. I attach this white part while measuring how many millimeters it should be from the end of the axis. At the moment, I use a small wooden piece like a ruler, measured for this purpose, to attach it. When I place that ruler from the right side and attach the part, this part comes to just the right position.
You can probably see that there is a gap on the left side of the part. In the past, I attached the part tightly against the left side, measured the empty space accurately, and made the part to that size to decide the distance from the right side. However, even if I made the parts exactly the same size, while there was no difference between the parts themselves, there were small differences in the glued areas of the axis panels. Because of this, the dimension on the right side did not become the same. It could shift slightly. By slightly, I mean about 0.2 mm, or sometimes as much as 0.3 mm. So now, I do not set the width of this part very strictly. Instead, I place a ruler from the right side and attach the part based on that distance. The reason this shift happens is that when I apply glue to the axis and assemble the frame, some glue squeezes out. When that glue hardens, the part can no longer sit tightly against the left side. It is possible to wipe away the extra glue, but that takes time. Also, as I have written before, the glue that squeezes out helps increase the bonding strength between the axis and the long side panel, so I would like to leave it as it is as much as possible. There are still several ways to do this, and there may not be one single best method. If I am making only a small number of boxes, I sometimes attach the parts in a different way. Also, even when using a ruler, the parts are still attached by hand, so small differences will still appear. For that reason, I leave a little extra space inside the mechanism. The small wooden pieces inside are also not cut to the exact size, but are made about 0.5 mm to 1 mm smaller, so they can handle these small individual differences.