Sanding the yosegi sheets
Today was relatively warmer compared to yesterday. I spent the whole day working in the workshop again. The work on the 3-sun puzzle boxes is nearly finished, and the next project is the 5-sun 27-steps puzzle boxes. Today I mainly worked on starting that production. In the morning, I prepared all the materials and began by shaving the boards to the required thickness. This time I will make 36 boxes. In addition to the traditional yosegi type for delivery, I will also make some versions for sale here, including a model that combines traditional yosegi, solid wood sheet, with a two-color ichimatsu yosegi pattern on the side panels.
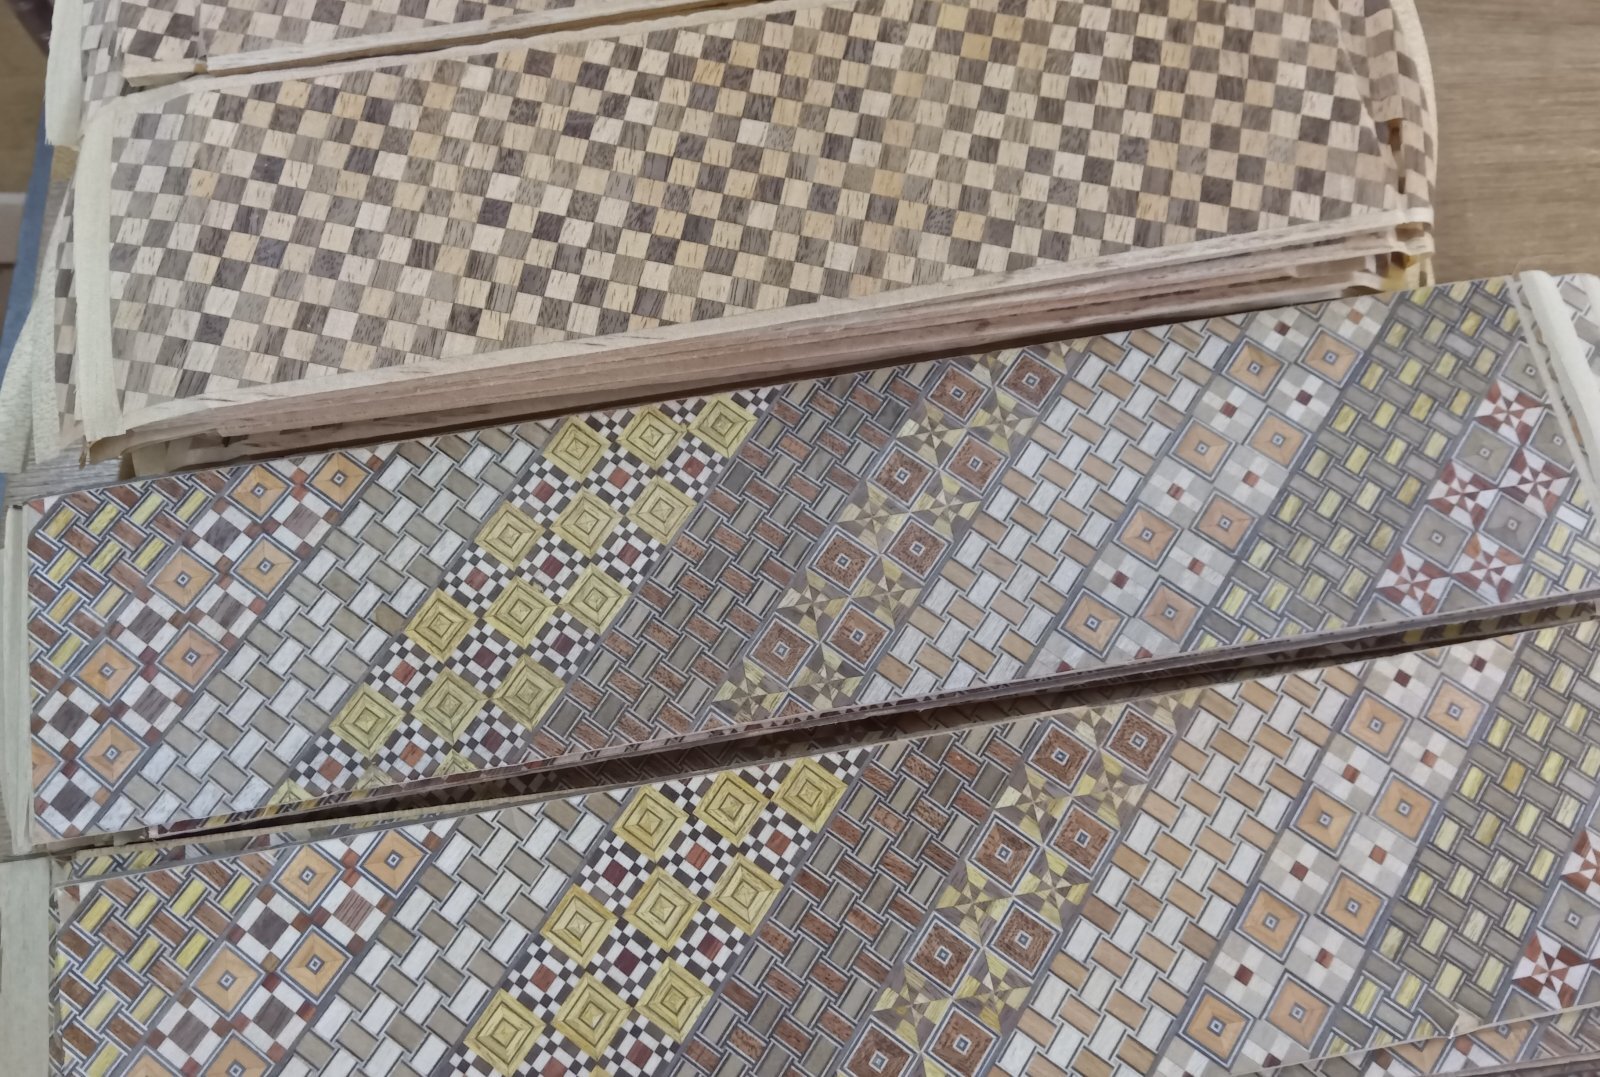
First of all, I need to prepare the side panels. So I began by preparing them so that the inner structural panels and the outer yosegi panels can be joined together. A structural panel for the inside of the box is first glued onto a board about 4 mm thick that already has the yosegi sheet attached. Although the yosegi sheet dries completely overnight, the surface becomes rough after it dries. This happens because the wood fibers and glue come up to the surface. Before joining these two panels, I sand the yosegi sheet to smooth the surface. The panels will be sanded once again after the box is assembled, but that step is mainly to remove small protrusions or tiny dust on the surface. It is not meant to smooth the panel itself, so I make sure the panel surface is properly smoothed at this stage. It may be a little hard to see, but in the photo the yosegi board looks slightly white after sanding.
This sanding work requires a bit of pressure, so it is more convenient to do it while the panel has not yet been cut to its final dimensions. If I wait until the box is completely finished to smooth the surface, there is a risk that the shape of the box could be affected. Perhaps saying the shape would change is a bit exaggerated, but the biggest concern is that the yosegi sheet on the surface might be sanded away too much and the pattern could disappear. These yosegi sheets are only about 0.2 mm thick. If the sandpaper is applied with too much force, the pattern can be removed in just one pass. For that reason, the sanding done after the box is fully assembled is kept very light and gentle, mainly to clean the surface. During the production process, small wood dust and particles often stick to the panels. If the box is coated without removing them, they will be trapped inside the finish. When sanding the yosegi sheet just after it has been attached, a somewhat stronger pressure is needed to smooth the surface. When I have only a few boards, I sometimes sand them by hand. But when there are dozens of boards, I use a commercial sanding machine—the kind often used in DIY work. At this stage, I usually attach sandpaper in the range of about 180 to 240 grit, which is medium to slightly coarse. However, a sanding machine is more powerful than sanding by hand, so while working I constantly check the surface with my other hand to make sure the yosegi sheet is not being sanded too much. After that, I glued the two boards together and fixed them with a vise.