Processing the top and bottom panels
According to the weather forecast, this morning was the coldest so far this winter. When I came to the workshop in the morning, the temperature was around minus four degrees Celsius. No wonder it felt so cold. Right now, I am working on Mame 18-steps puzzle boxes, and since the work does not require any large-scale processes, I spent the morning doing assembly work in a heated room while it was still very cold outside.
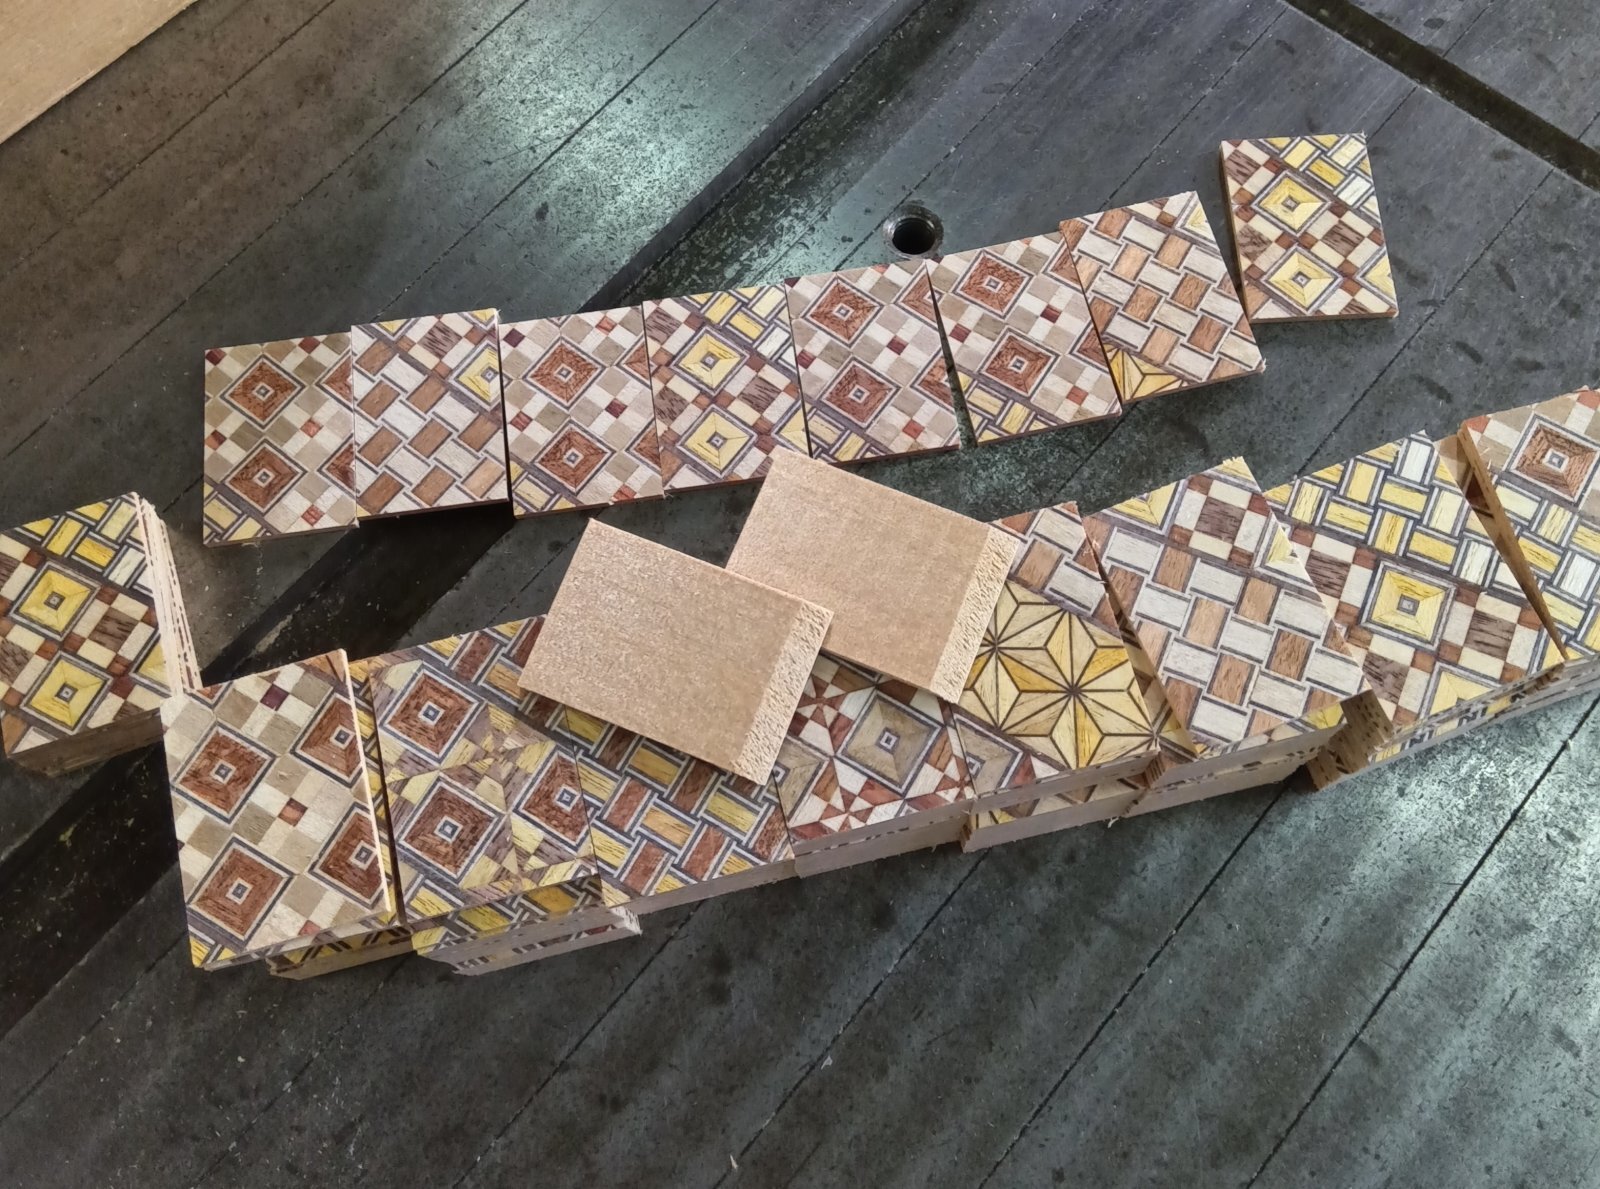
This time, the quantity is a bit larger, so each step of the process takes a fair amount of time. Among all the steps, attaching the Aruki panels takes the most time. I was able to finish that part safely today. Then, in the afternoon, while sunlight was coming into the workshop, I worked on making the yosegi panels for the top and bottom of the boxes.Fortunately, thanks to the dry weather lately, the panels have dried very well. However, because they are quite thin—about 2 mm—they can warp very easily. They can warp due to humidity, but dryness causes even more warping. For that reason, I always need to keep constant pressure on the panels or place something heavy on top of them.
In the photo, I am working on cutting the top and bottom panels to their final width and length, and then shaving one side of the back at an angle. The reason for this is related to the mechanism. After the first move of the mechanism, the top panel moves as the second step. However, the movement of the first step is only about 1.3 mm. Since the panel itself is about 2 mm thick, the second step cannot move forward unless the panel is made thinner. It would simply get stuck. So, I carefully shave the panel to make it thinner than 1.3 mm. This adjustment is done only for the very first movement. When the top panel moves again later in the sequence (it moves again at the sixth step), the thickness of the panel no longer affects the mechanism.If the panel is made too thin, it becomes easy to chip, so finding the right balance is quite difficult.
Have a great weekend! 😊