Attaching small, thin panels
It was another calm and sunny day today. As usual, I worked in the workshop. My main work today was making the Mame puzzle boxes. I hoped to reach the final assembly step today, so I worked with that goal in mind. First, I attached the top and bottom panels. The panels I made two days ago had been waiting to be attached. A few days ago it was rainy, but for the past two days it has been sunny, and fortunately the panels were still in good condition just as they were.
When attaching these top and bottom panels, I do not apply extra pressure with rubber bands or a vise after gluing them. The panels fit tightly into the side frames of the box, so no additional pressure is necessary. Actually, the other puzzle boxes have a similar structure. However, for other panels I usually apply pressure with a vise, but for these panels it is not needed, probably because they are small and light. Because of that, they attach quickly and I can move on to the next step soon after.
Well, even if I say “soon,” it is better to leave them for about two hours. During that time, I worked on attaching the Aruki panels for the 3-sun puzzle boxes. These panels were also made earlier and left to rest. As I may have written before, in the previous production of the 3-sun 12-steps puzzle boxes, the combination type with yosegi and walnut, I made the groove for the Aruki panels slightly wider. At the same time, the width of the Aruki panel legs was also made slightly wider, by about +0.4 mm. Because of this change, the movement seems to be a little more stable. Since the thickness of the panels limits how wide the groove can be made, it is not easy to increase it. However, the previous result felt good, so I used the same adjustment this time.
After that, I cut the extra parts of the side panels that were slightly sticking out, and then attached the smaller yosegi panels to side of the box (photo). At that time, I do not process the surface where the panel will be attached. Because the boxes are very small, trying to process the surface could actually disturb the flatness. So I attach them as they are. For that reason, it is important that everything has already been made with very high precision in the earlier steps. One particularly important point is where the Aruki panels are attached to the frame. The Aruki panel must not stick out or be recessed. It needs to be perfectly level with the frame. Otherwise, the yosegi panel cannot be attached neatly to the box, and gaps will appear. and Since the panels are very small and thin, the glue must also be applied only in limited areas. If glue is spread over the entire surface, the moisture can cause the panel to warp.There were quite a few pieces to attach, so it took some time, but I was able to finish the assembly successfully. Today involved many small and delicate tasks, which was quite different from yesterday’s physical labor 🤣
Have a nice weekend!
When attaching these top and bottom panels, I do not apply extra pressure with rubber bands or a vise after gluing them. The panels fit tightly into the side frames of the box, so no additional pressure is necessary. Actually, the other puzzle boxes have a similar structure. However, for other panels I usually apply pressure with a vise, but for these panels it is not needed, probably because they are small and light. Because of that, they attach quickly and I can move on to the next step soon after.
Well, even if I say “soon,” it is better to leave them for about two hours. During that time, I worked on attaching the Aruki panels for the 3-sun puzzle boxes. These panels were also made earlier and left to rest. As I may have written before, in the previous production of the 3-sun 12-steps puzzle boxes, the combination type with yosegi and walnut, I made the groove for the Aruki panels slightly wider. At the same time, the width of the Aruki panel legs was also made slightly wider, by about +0.4 mm. Because of this change, the movement seems to be a little more stable. Since the thickness of the panels limits how wide the groove can be made, it is not easy to increase it. However, the previous result felt good, so I used the same adjustment this time.
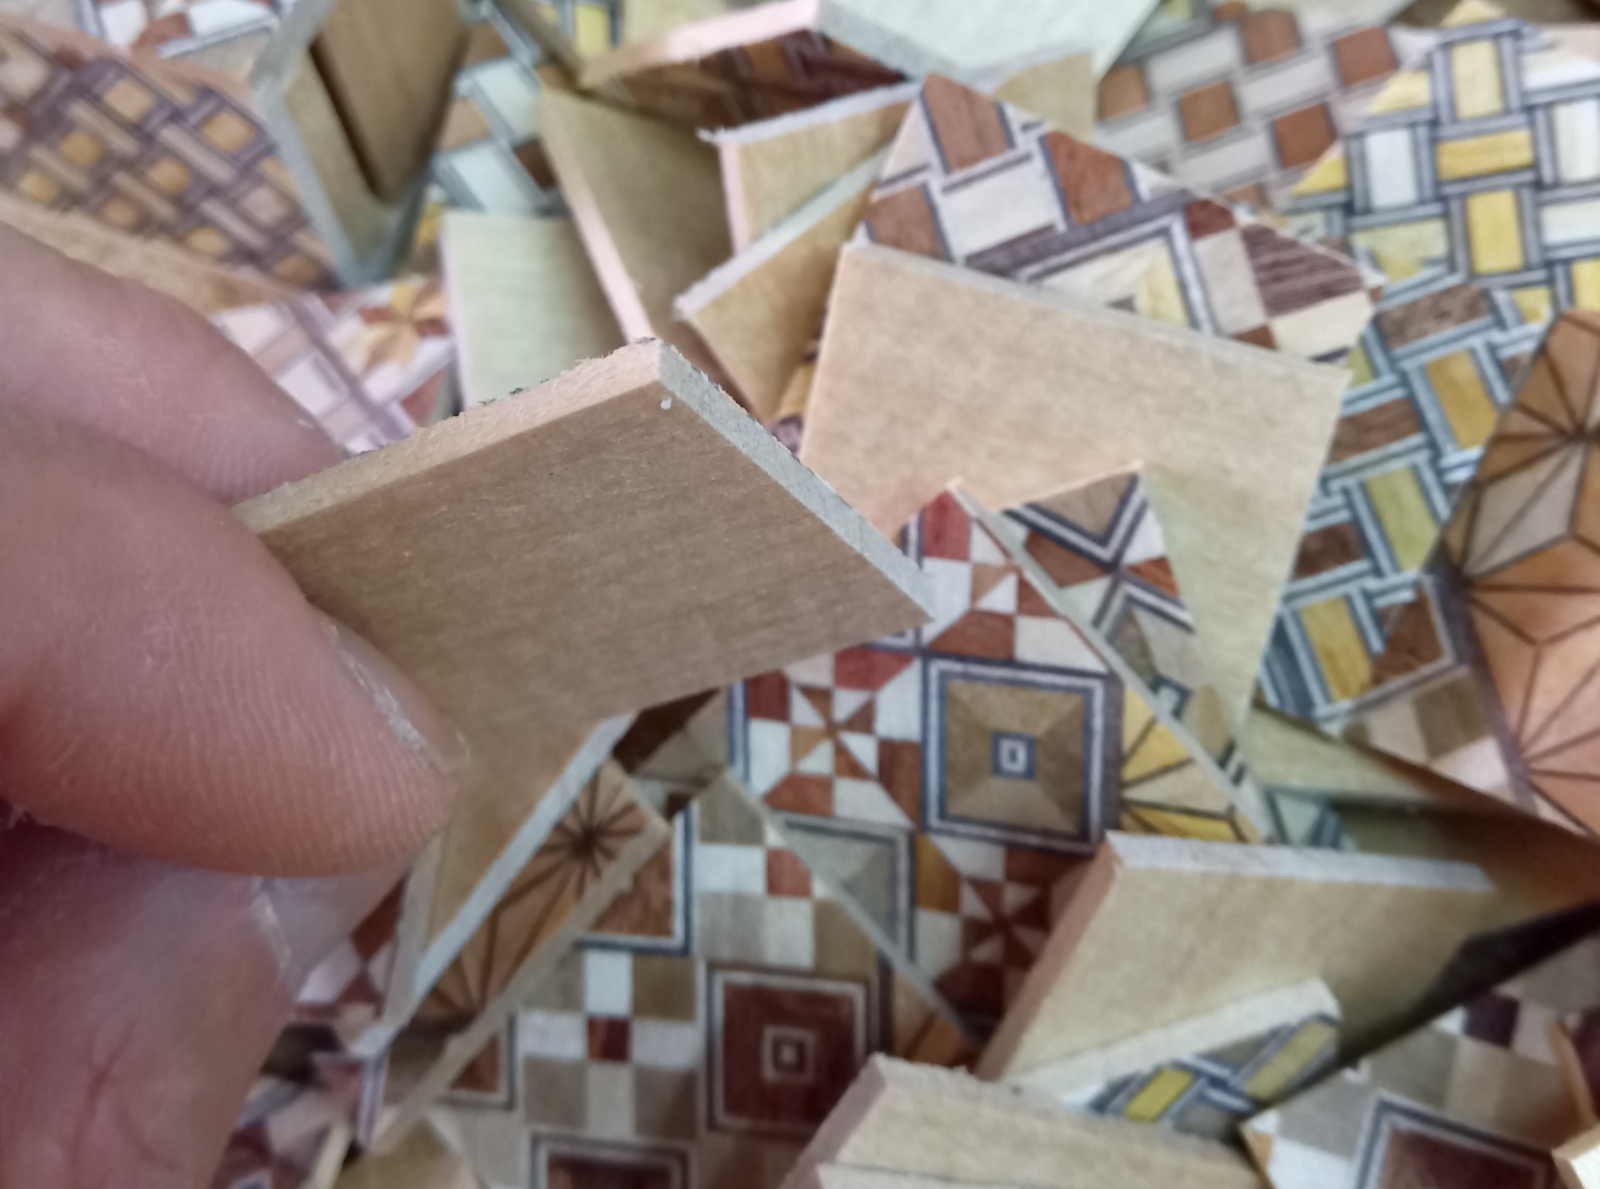
After that, I cut the extra parts of the side panels that were slightly sticking out, and then attached the smaller yosegi panels to side of the box (photo). At that time, I do not process the surface where the panel will be attached. Because the boxes are very small, trying to process the surface could actually disturb the flatness. So I attach them as they are. For that reason, it is important that everything has already been made with very high precision in the earlier steps. One particularly important point is where the Aruki panels are attached to the frame. The Aruki panel must not stick out or be recessed. It needs to be perfectly level with the frame. Otherwise, the yosegi panel cannot be attached neatly to the box, and gaps will appear. and Since the panels are very small and thin, the glue must also be applied only in limited areas. If glue is spread over the entire surface, the moisture can cause the panel to warp.There were quite a few pieces to attach, so it took some time, but I was able to finish the assembly successfully. Today involved many small and delicate tasks, which was quite different from yesterday’s physical labor 🤣
Have a nice weekend!