Sheet Grain Direction
The mornings and evenings are still pleasantly cool, but the daytime heat has returned. Following yesterday's work, I successfully attached the remaining sliding key panels to the Walnut version of the 4-sun puzzle boxes. I will leave them to rest for a while, and then they will move on to the finishing process.
Now that the assembly of the 4-sun 14-step puzzle boxes is complete, I have also started preparing for my next project. Next, I will make about 40 Square puzzle boxes. A few of them are already made-to-order, but most of this batch will be for my own stock. I could make only the few ordered boxes, but producing such a small number is not very practical. It is not a technical problem, but a matter of production cost. The same is true for all Japanese puzzle boxes. That is why I usually add stock items of my own and produce batches of around 40 or 50 boxes at a time. The boxes for my own stock will be limited edition designs. I am unable to make the traditional Yosegi version because I no longer have Yosegi sheets for the square boxes, so I plan to continue making this Square puzzle box only as a limited edition.
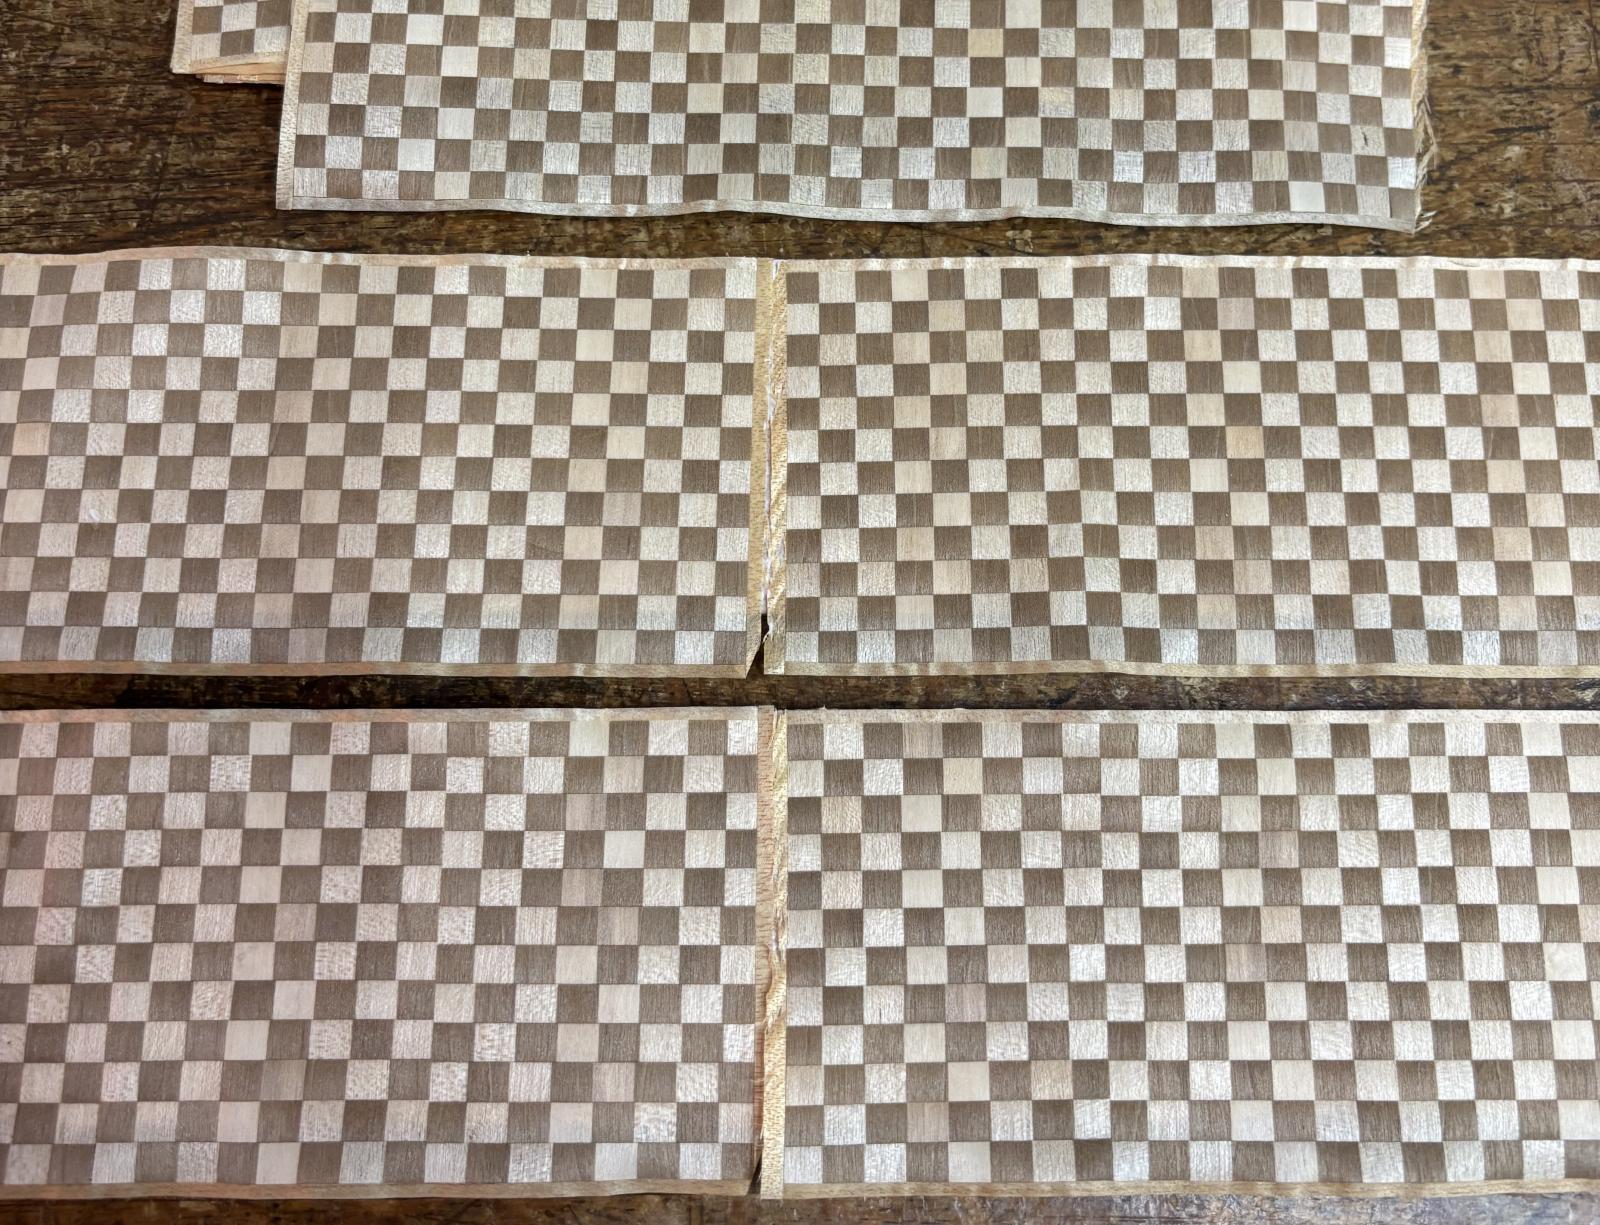
I have been thinking about the design for this limited edition. At first, I considered using Walnut side panels, but because of material limitations, I decided not to do that this time. Instead, I chose a two-color checkered pattern for the side panels. Today, I attached the required checkered Yosegi sheets to the Agathis backing boards. The four-color checkered pattern that I have often used in the past is also made up of small squares, but unlike this two-color version, its pattern is set at a slight angle. In fact, the angled pattern is easier to work with for several reasons. The main reason is that it makes slight misalignment much less noticeable. When attaching a Yosegi sheet to a board, as I did today, the sheet can shift slightly. The sheet itself is not perfectly square, either. It may have a slight distortion, which can become noticeable once the panel is attached to the box. If the pattern is already angled, however, small misalignments are much harder to see. Another reason is that the Yosegi is less likely to chip when the corners of the box are rounded during the final machining process. You may have seen Yosegi products with chipped corners from time to time. The corners are always the most vulnerable during machining. With a vertical checkered pattern like this one, the wood grain runs straight up and down in relation to the box, making the corners even more likely to chip, so extra care is needed. An angled pattern is more resistant to this problem. To reduce the risk, I keep the Yosegi sheet as thin as possible, avoid using overly hard woods in the pattern, and make sure the sheet is bonded firmly. A strong bond is especially important, so I use slightly more glue than usual. At the same time, too much glue can reduce the beauty of the Yosegi pattern, so finding the right balance is an important part of the process.
Now that the assembly of the 4-sun 14-step puzzle boxes is complete, I have also started preparing for my next project. Next, I will make about 40 Square puzzle boxes. A few of them are already made-to-order, but most of this batch will be for my own stock. I could make only the few ordered boxes, but producing such a small number is not very practical. It is not a technical problem, but a matter of production cost. The same is true for all Japanese puzzle boxes. That is why I usually add stock items of my own and produce batches of around 40 or 50 boxes at a time. The boxes for my own stock will be limited edition designs. I am unable to make the traditional Yosegi version because I no longer have Yosegi sheets for the square boxes, so I plan to continue making this Square puzzle box only as a limited edition.
I have been thinking about the design for this limited edition. At first, I considered using Walnut side panels, but because of material limitations, I decided not to do that this time. Instead, I chose a two-color checkered pattern for the side panels. Today, I attached the required checkered Yosegi sheets to the Agathis backing boards. The four-color checkered pattern that I have often used in the past is also made up of small squares, but unlike this two-color version, its pattern is set at a slight angle. In fact, the angled pattern is easier to work with for several reasons. The main reason is that it makes slight misalignment much less noticeable. When attaching a Yosegi sheet to a board, as I did today, the sheet can shift slightly. The sheet itself is not perfectly square, either. It may have a slight distortion, which can become noticeable once the panel is attached to the box. If the pattern is already angled, however, small misalignments are much harder to see. Another reason is that the Yosegi is less likely to chip when the corners of the box are rounded during the final machining process. You may have seen Yosegi products with chipped corners from time to time. The corners are always the most vulnerable during machining. With a vertical checkered pattern like this one, the wood grain runs straight up and down in relation to the box, making the corners even more likely to chip, so extra care is needed. An angled pattern is more resistant to this problem. To reduce the risk, I keep the Yosegi sheet as thin as possible, avoid using overly hard woods in the pattern, and make sure the sheet is bonded firmly. A strong bond is especially important, so I use slightly more glue than usual. At the same time, too much glue can reduce the beauty of the Yosegi pattern, so finding the right balance is an important part of the process.