Unique Aruki panel
I went out for a little while today as well, but I was able to continue the work. Today, I mainly worked on making the Aruki sliding panels for the 5-sun drawer 10-steps puzzle box. This is an important part of the work. Fortunately, the weather was good today, so I could work smoothly (even though I work indoors... haha😅). The humidity was low, which made it easier to adjust the Aruki panels during production.
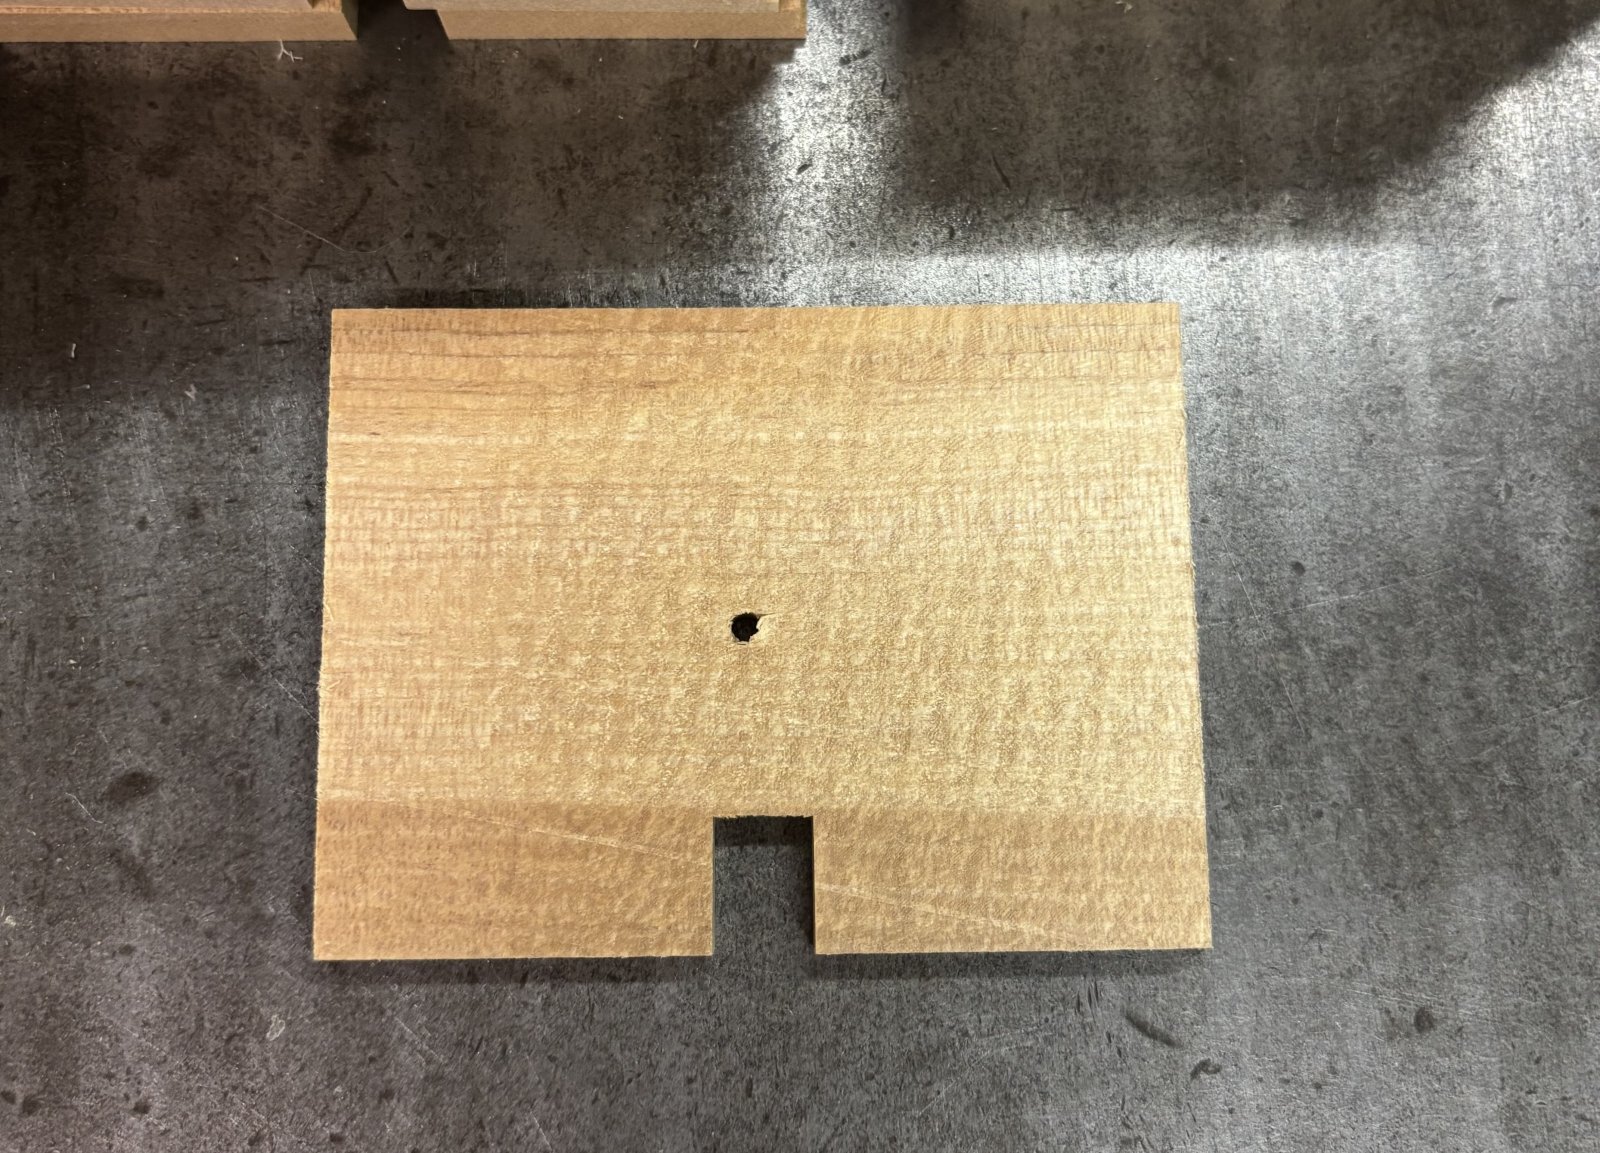
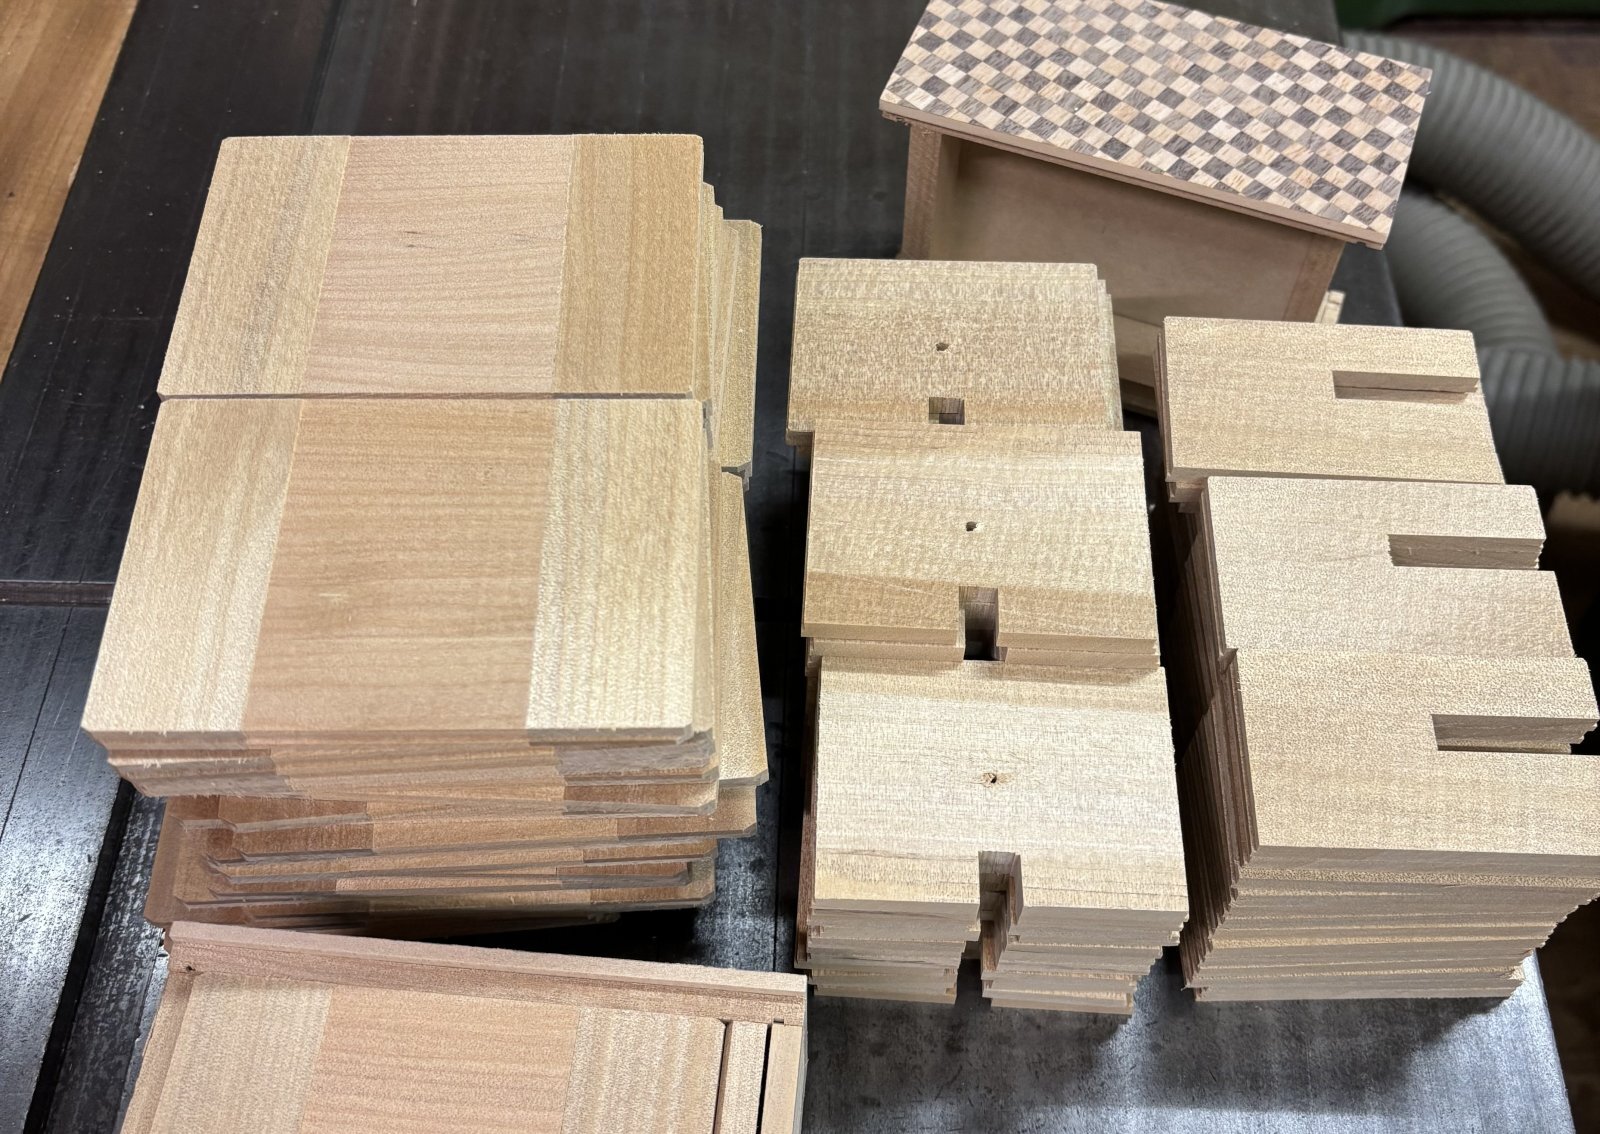
The photo shows the Aruki panels I made. There are two types for the side panels of the box and one type for the top lid panel. The most unique one for this drawer-style puzzle box is probably the larger Aruki panel used for the side panel (below photo). Its length (the height of the Aruki panel) is made to match the full length between the top and bottom panels of the box. In other words, it has the same width as the inner side panel. This is because this Aruki panel only moves after the top panel has moved, so until then it must not move either upward or downward. In traditional Japanese puzzle boxes, this movement is usually controlled by sliding keys (Kannuki). However, this panel does not use sliding keys, so it is made to fill the full space between the top and bottom panels in order to prevent movement in either direction.
The hole in the center of this panel is for attaching a pin so that the panel will not come off from the main body when it moves. Later, a 3 mm round rod will be attached here. That rod passes through to the inside, and it moves inside a groove carved into the shaft panel, where it catches and stops. I have mentioned this many times on my blog, but this construction method is a modern style. Older drawer-style puzzle boxes did not use this pin system. This newer method hides the mechanism better and also gives a cleaner and more beautiful appearance. The notch at the bottom of the panel is made so the drawer handle can fit without hitting the panel. In order to make the drawer as large as possible, the handle is not fully contained inside the box. Instead, the handle extends slightly above the Aruki panel and fits into this notch. The handle is about 6 mm, so I made the notch about 10 mm to leave a little extra space.
Besides this work, I also checked the final movements of the hexagonal 6-steps puzzle box today. It took more time than I expected (or maybe just as expected... haha), but I was able to finish it successfully.