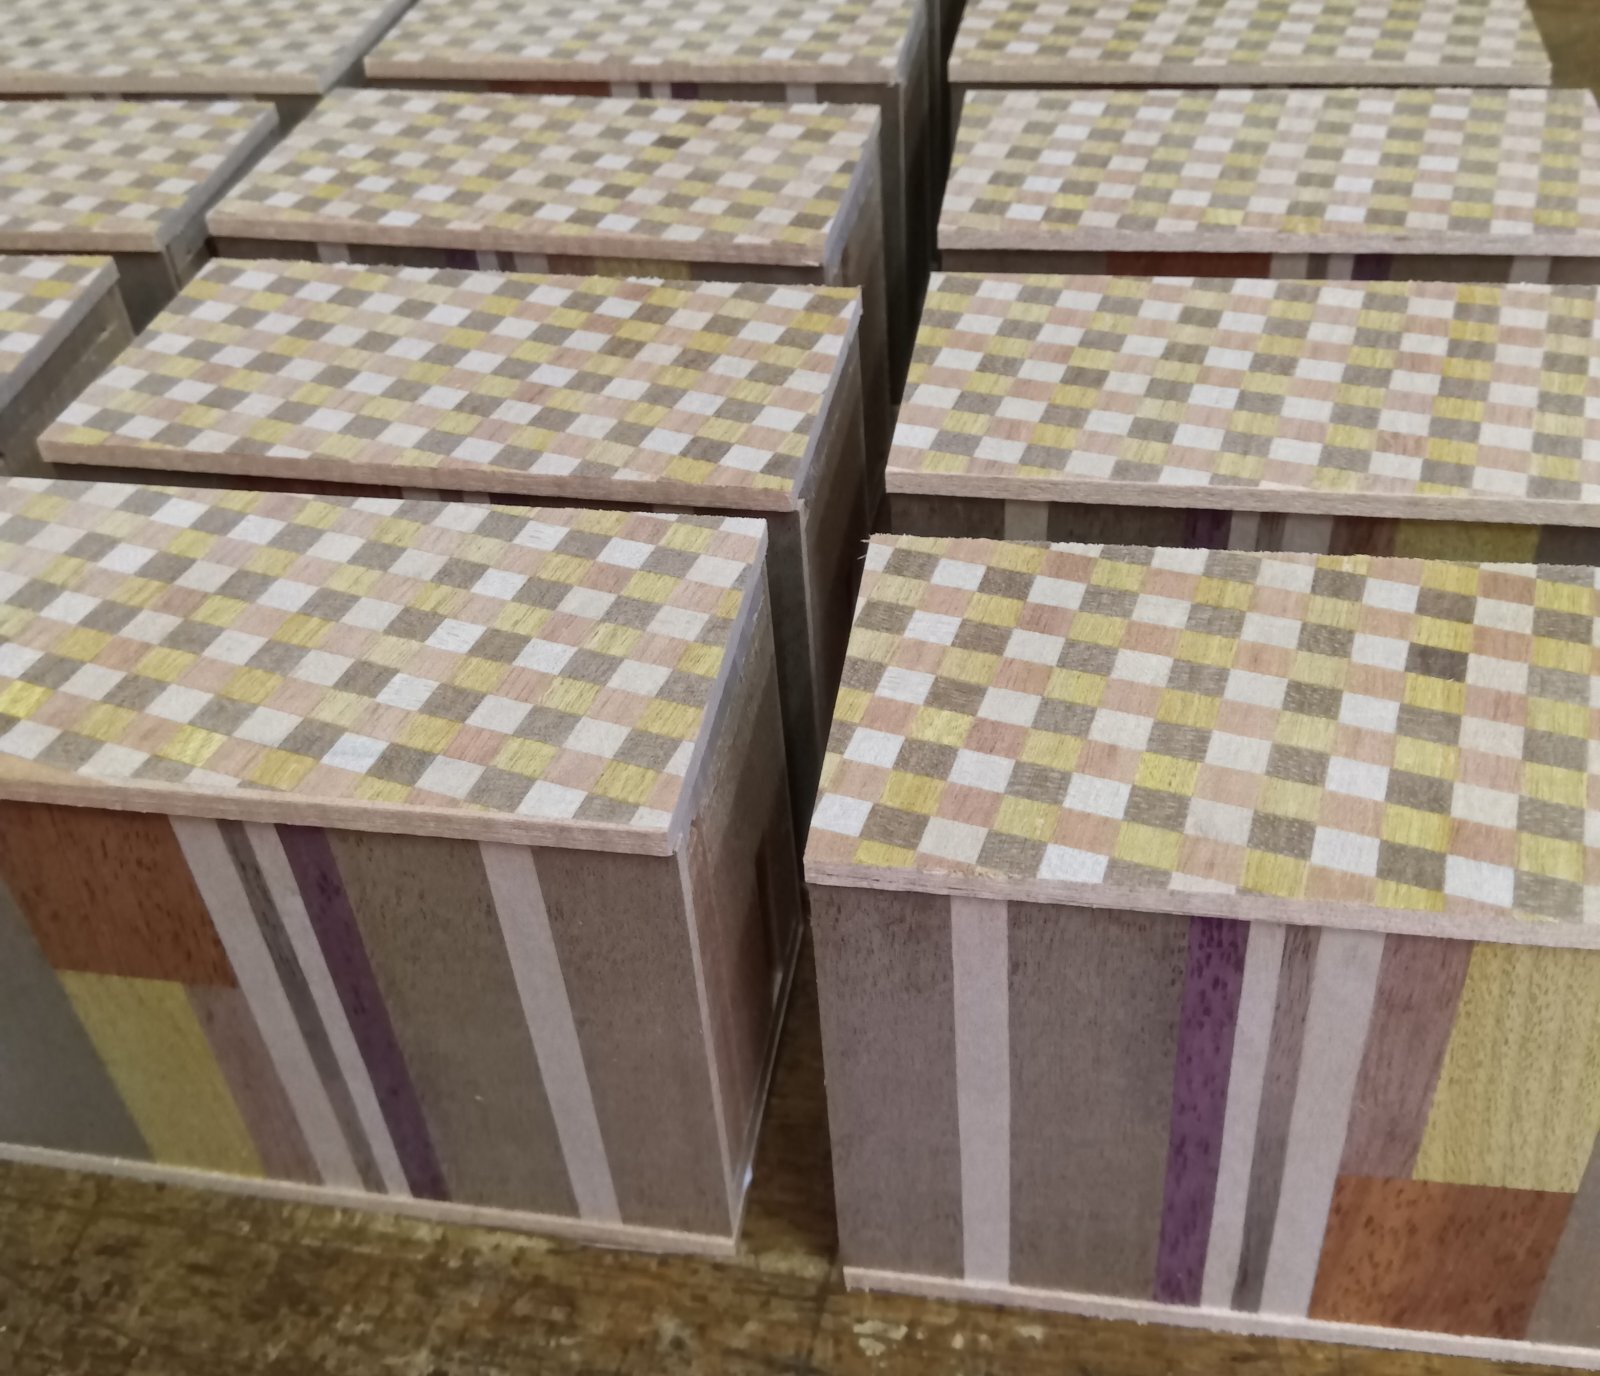
Modern design?
Today, I worked on attaching and preparing the side panels for the 4-sun 18-step puzzle box with the original yosegi design, as well as finishing the 2.5-sun boxes.
Surprisingly, the weather was very cool and comfortable today.
It wasn’t sunny, but the sky was cloudy, and there was a nice breeze. The temperature dropped for the first time in a while.
When a cool day like this suddenly arrives, I imagine many people—myself included—might feel the fatigue from the heat of the previous days catching up with them 🤣
In the morning, I focused on the finishing process for the 2.5-sun boxes.
These boxes feature yosegi sheet on the top and bottom panels, with natural wood side panels.
I started by shaving down the edges of the Aruki (moving panel) side panels I had glued a few days ago.
It’s important to trim them down just a tiny bit more than necessary—just barely—because if any edge remains, it won’t look clean later, and it’ll be difficult to fix.
After that, I sanded the side panels using a sanding machine.
Since the wood used this time is soft, the sanding process was easy and quick.
When working with this kind of light, soft wood, the box might not look as heavy or solid—but I’m reminded that this soft, airy feel is actually part of what gives a Japanese puzzle box its charm.
Finally, I processed the corners. Because I used light and soft woods like Agathis and Urushi wood this time, I chose not to use the usual angled cut I apply to natural hardwoods. Instead, I went with a more traditional rounded corner style.
That said, it’s not the large round shape like in normal Japanese puzzle boxes—just a gentle, smaller curve.
I then lightly sanded the top and bottom panels by hand. With that, the assembly was complete, and I moved on to the base coating stage.
Afterward, I made and attached checkered yosegi panels for the 4-sun box.
As I was working on it, I realized that this design turned out quite bright and cute!
Maybe I made it a little too colorful 😊
Still, I think the modern look goes well with the top and bottom panels.
I’ve left the box clamped in place under pressure for now.
From here, I’ll continue the next steps while keeping an eye on the weather.
Wishing you a great weekend!
