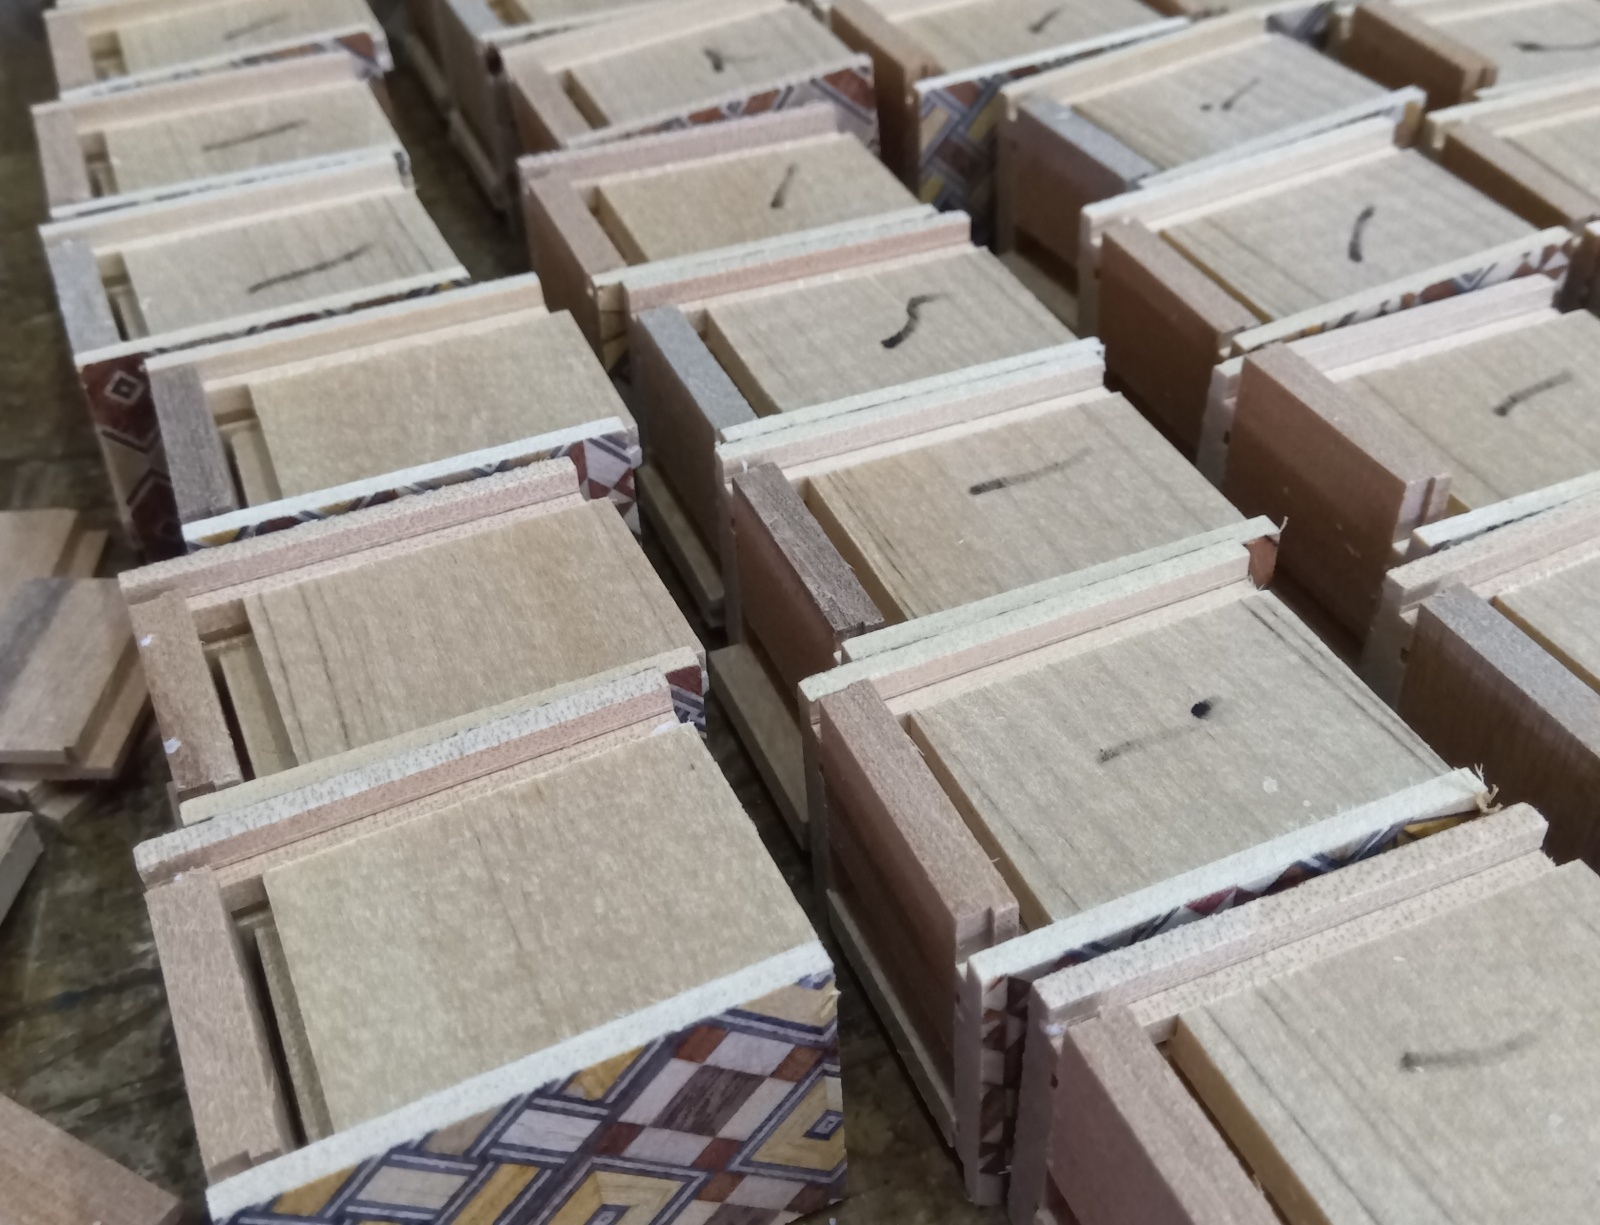
The top and bottom surfaces of the mame box
It rained all day today. However, as planned yesterday, I worked on making and attaching the Aruki sliding panels for the Mame 10-step Japanese puzzle boxes. In fact, when the rain has just started, the humidity is not always so high. Sometimes, after it has been raining for several hours, or on the day after the rain, the humidity becomes much harder to control. Just to be safe, I turned on the air conditioner today to reduce the humidity while working. Also, since the parts of the Mame puzzle boxes are very small, they are less affected by humidity. The photo shows the moment when I am fitting the aruki panels into place.
As you can see in the photo, the Mame puzzle boxes with the Aruki panels attached are lined up in a row. Normally, when making puzzle boxes, I arrange them neatly during each step of the process. However, since these boxes are so small, sometimes they are placed together loosely in a large basket or box. At this stage, I line them up in a single row. The reason is that the next step will be attaching the top and bottom yosegi panels. When I glue those panels, I need to carefully check the top and bottom surfaces of each small box, so arranging them like this makes it easier. Actually, I will not glue the yosegi panels today. Since it is raining, even if I have time, I prefer not to do that step. For now, I will leave them lined up on the table before going home. Ideally, I would like to place them on a board and then put them into a humidity-controlled box. Depending on how the rain continues, I may do that.
The reason I check the top and bottom surfaces is that, if possible, I want to choose a more decorative part of the traditional small yosegi pattern for the top panel. The small yosegi sheet is made from many different patterns combined together. So when I glue the sheet onto a board and then cut it into small panels for the Mame puzzle boxes, each small panel ends up with a different pattern. From those, I carefully select which one to use. I prefer to place a brighter and more detailed pattern on the top panel, because when the lid is finally opened, I think it is nicer to see a more beautiful design. On the other hand, for the opposite side, I usually choose a calmer and simpler pattern. To make it clear which side will become the top, I put a small black mark on the Aruki of the top panel, as you can see in the photo. Since the yosegi panel will be glued over that area, the mark will be hidden later.
For the same reason, I also try to avoid having the same kind of pattern appear on multiple sides of the box. I carefully choose and glue the panels so that the six sides show a good variety of patterns. This is something I do for other puzzle boxes as well, but with Mame puzzle boxes the visible pattern area is very small. Because of that, I select the patterns even more carefully when attaching the panels.